AlmaLinux
ここでは、Almalinux 8 / Almalinux 9 / Almalinux 10 のインストール方法について説明します。 本ページでは Almalinux 8 の画像を使用してご案内しています。 他のバージョンをご利用の場合は、適宜読み替えをお願いします。
インストーラーを実行する
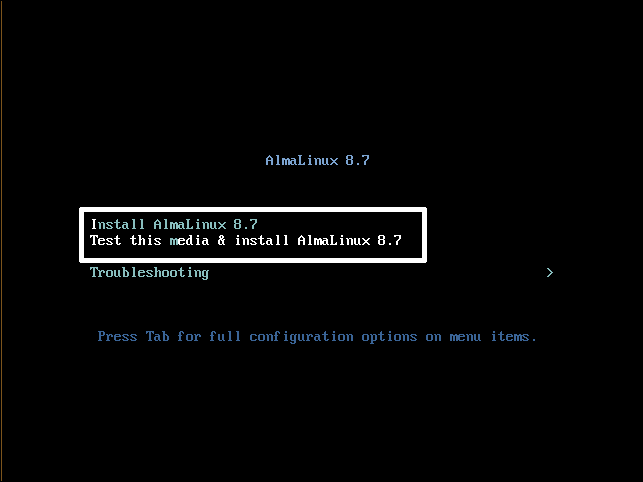
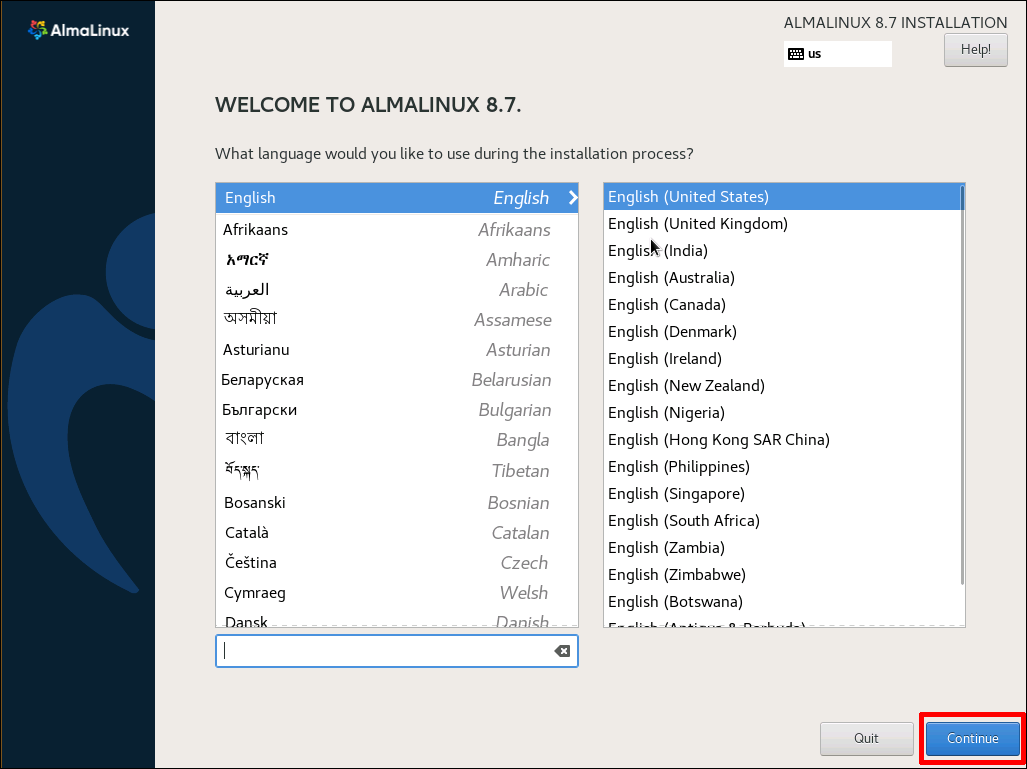
インストーラー起動後、「Install Almalinux 8」または「Test this media & Install Almalinux 8」を選択して、「Enterキー」を押します。
インストールを実行する
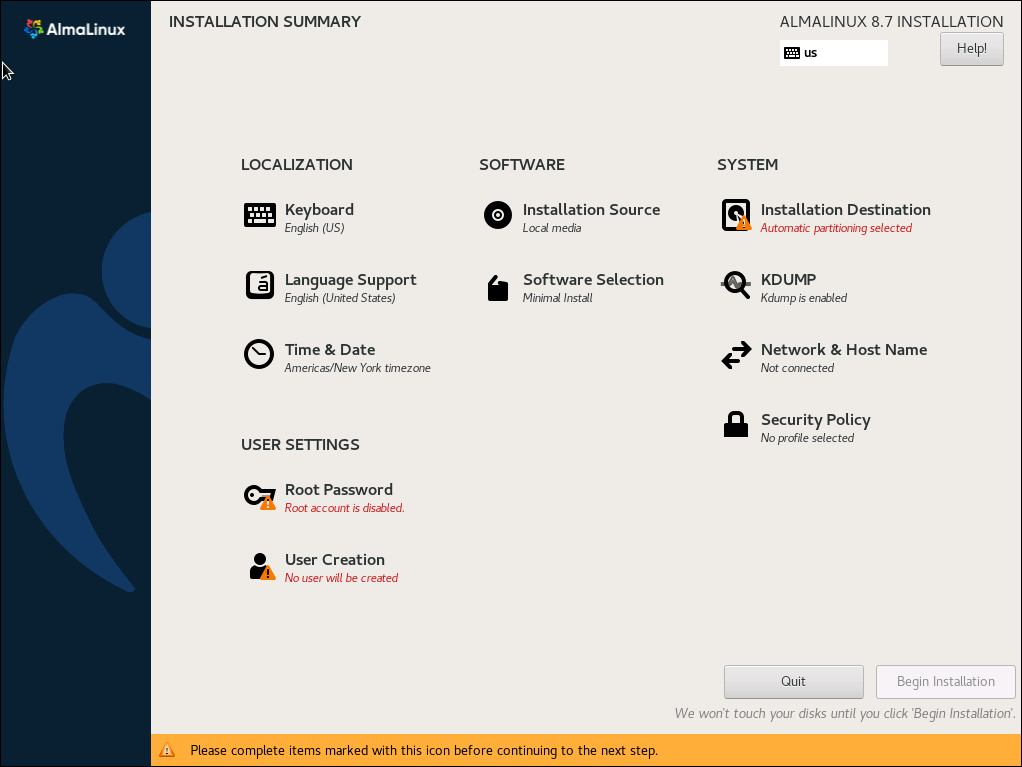
インストーラーメイン画面が表示されます。
ローカリゼーションを設定する
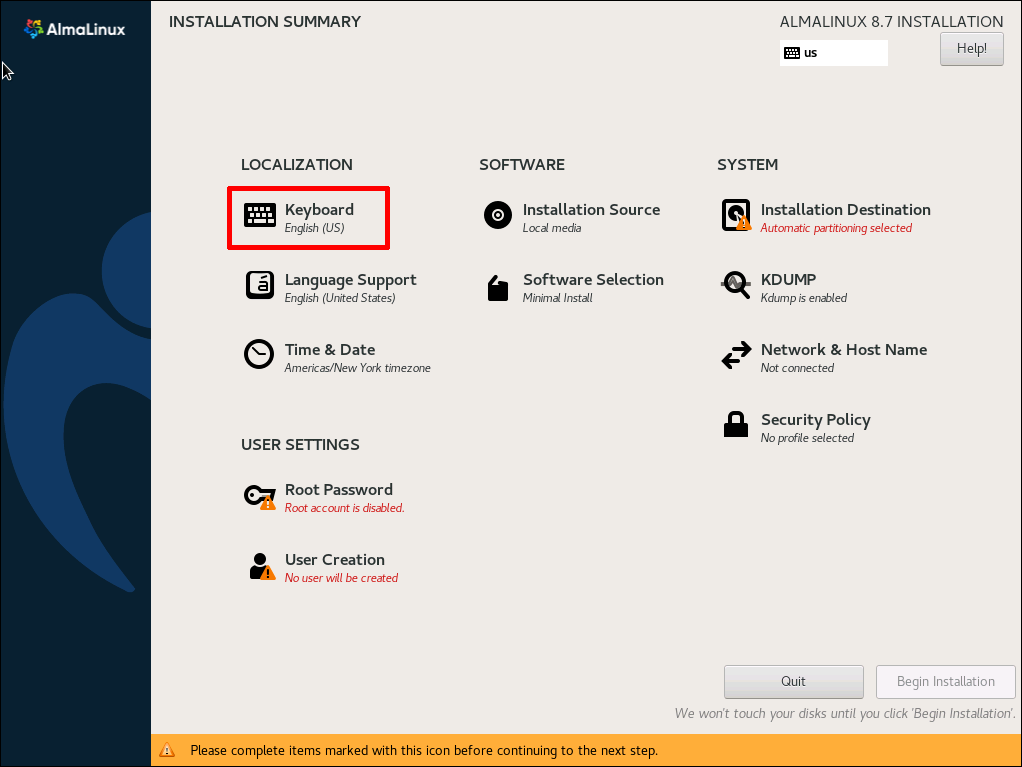
メイン画面の「Keyboard」をクリックします。
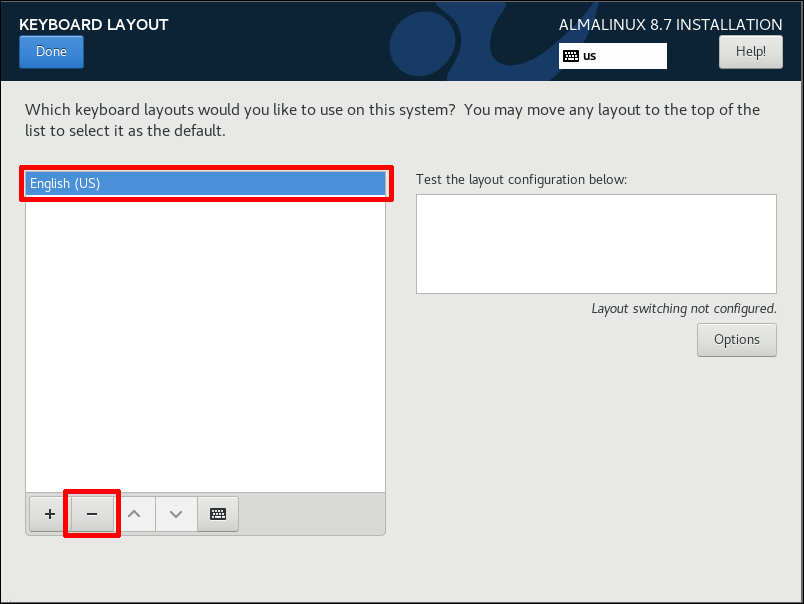
Keyboardはデフォルトでは「English(US)」となってますので、必要に応じて変更します。 「English(US)」を選択し、「-」ボタンをクリックします。
「Japanese」を選択し、「Add」 ボタンをクリックします。
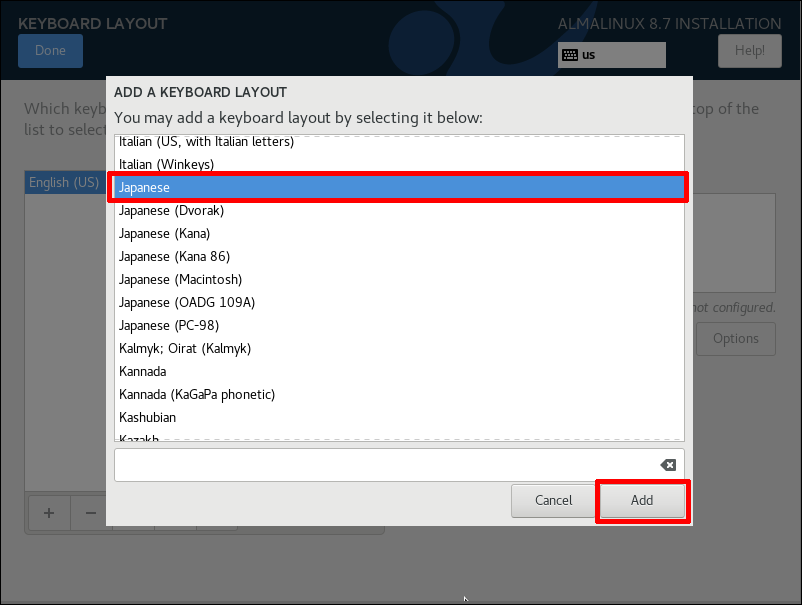
画面を確認して問題なければ、「Done」ボタンをクリックします。

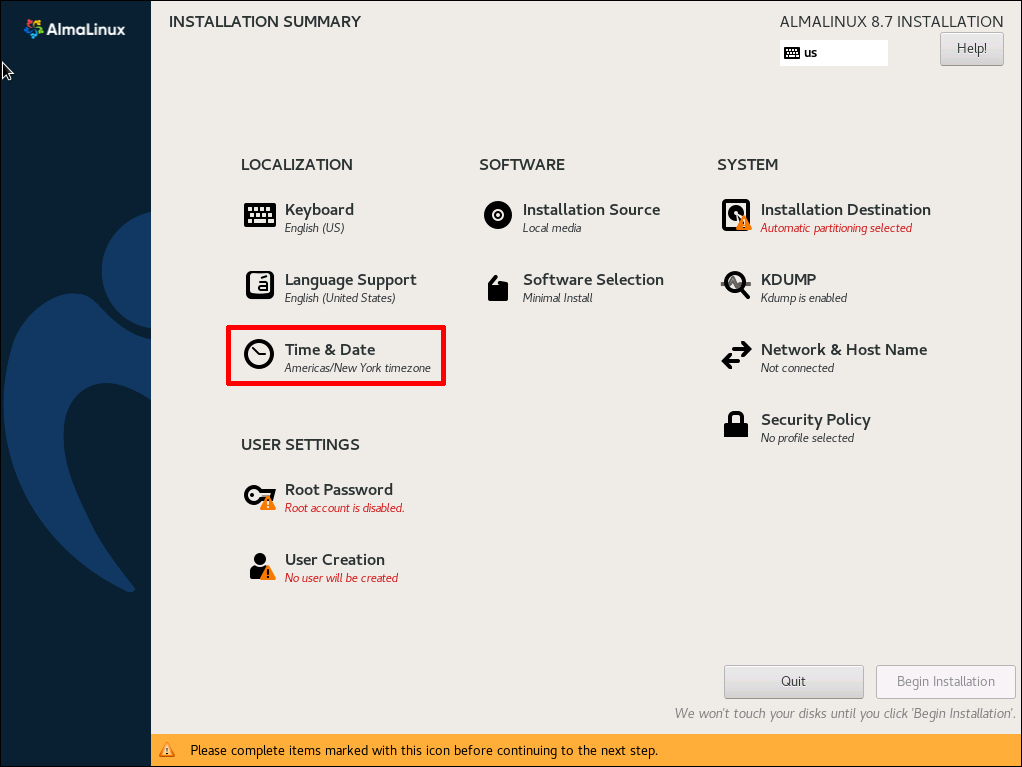
メイン画面の「Time & Date」をクリックします。
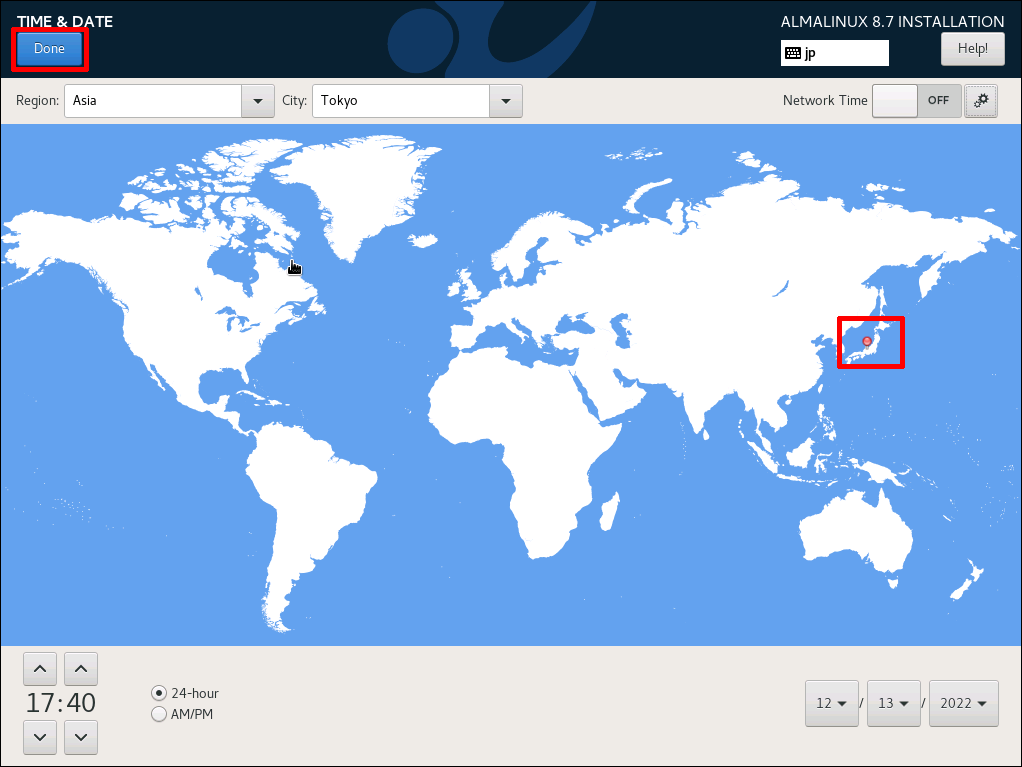
地図から日本の場所をクリック、自動的にRegionが「Asia」、Cityが「Tokyo」となることを確認し、「Done」ボタンをクリックします。
Note
システムを設定する
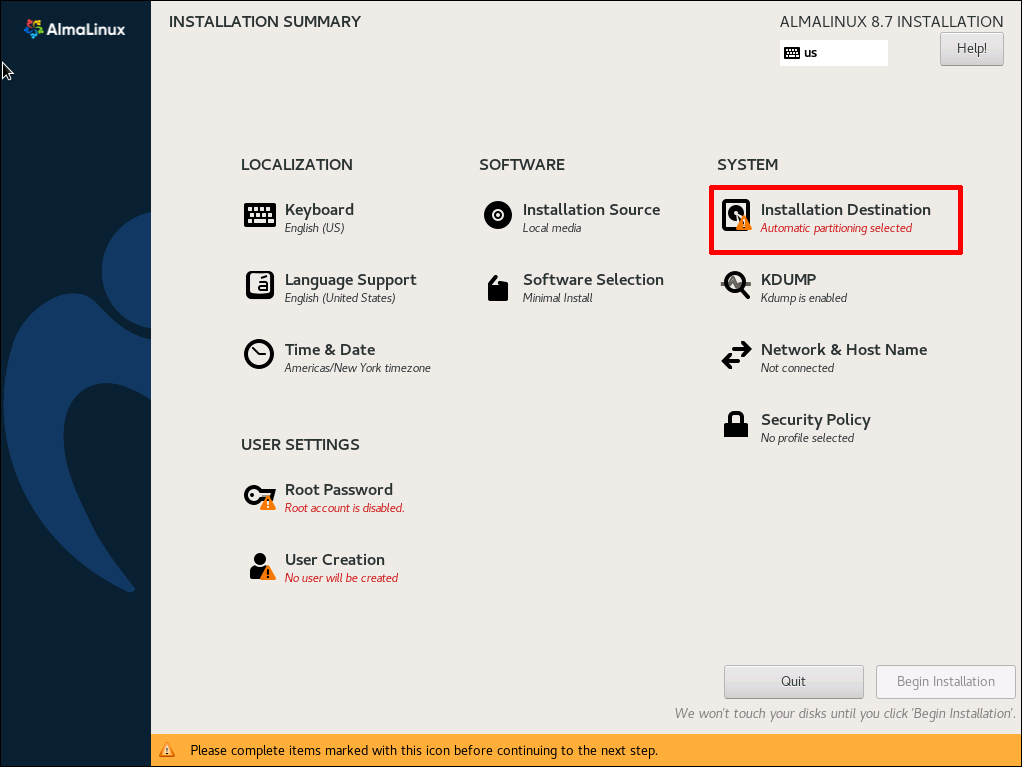
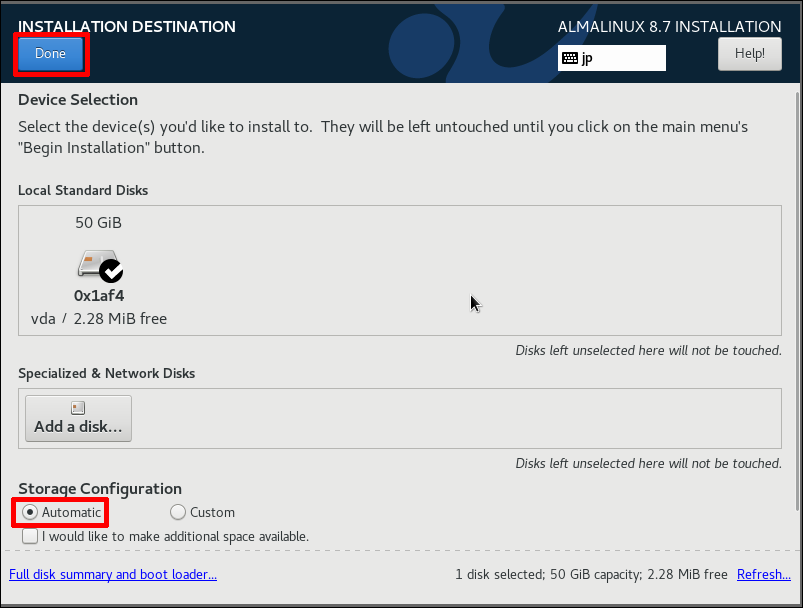
メイン画面の「Installation Destination」をクリックします。
Note
ローカルディスクが正しく選択されていることを確認します。 続けて、Storage Configurationの「Automatic」が選択されていることを確認し、「Done」ボタンをクリックします。
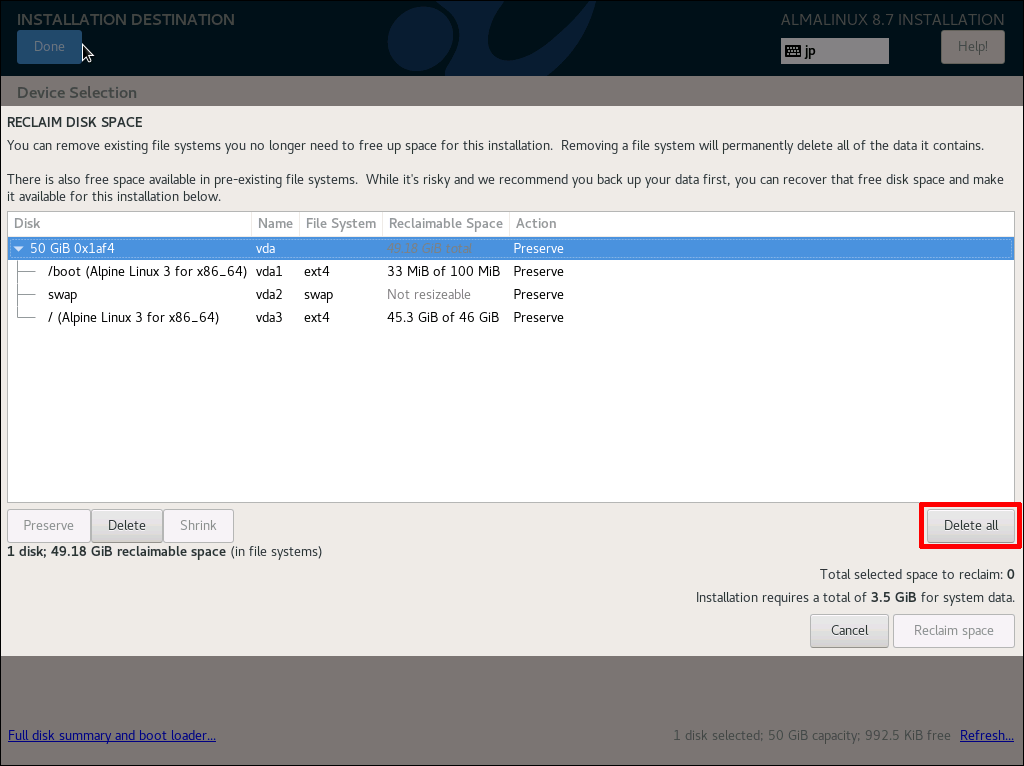
INSTALLATION OPTIONS のポップアップ画面が表示されます。 すべてのディスクスペースを利用するため、そのまま「Reclaim Space」ボタンをクリックします。

現在のストレージの利用状況が表示されます。 特に問題なければ「Delete all」ボタンをクリックします。
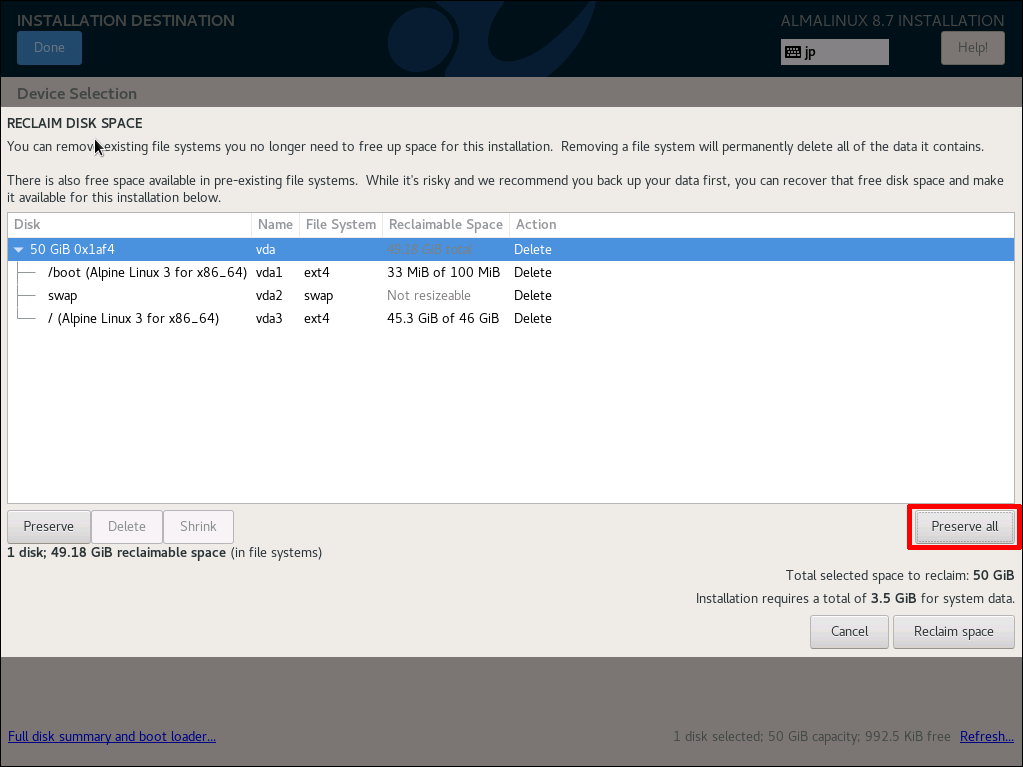
注意
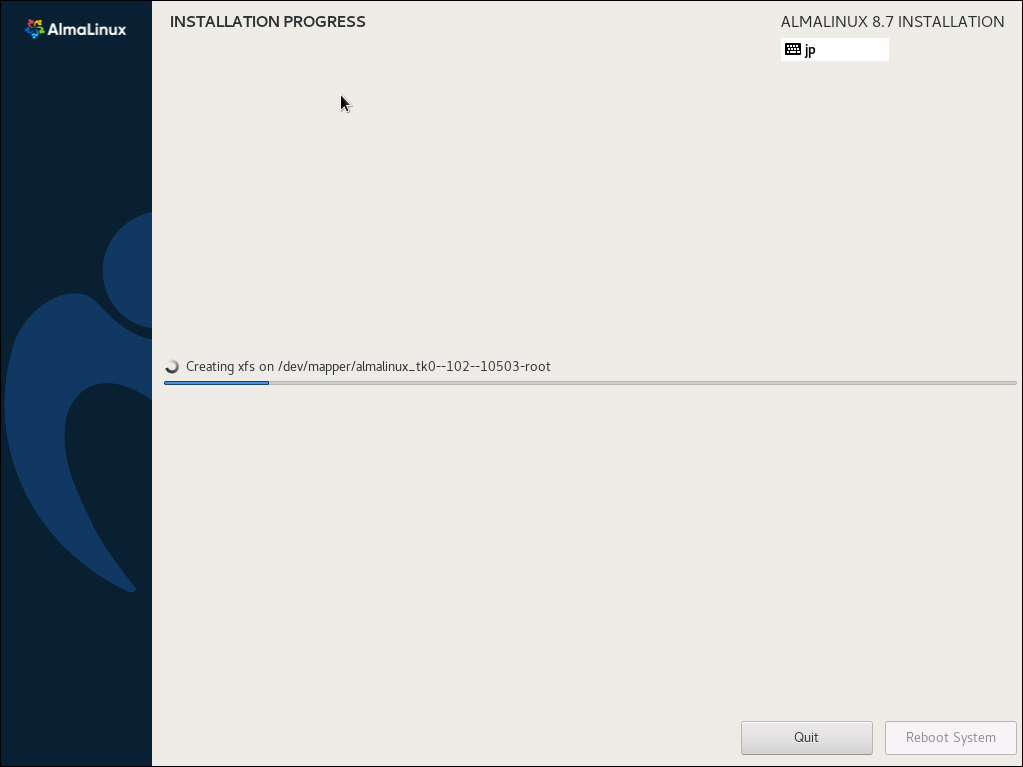
次の操作によりすぐにパーティションの作成とフォーマットが行われます。 ディスク上のデータは全て削除されますのでご注意ください。
「Reclaim Space」ボタンをクリックします。
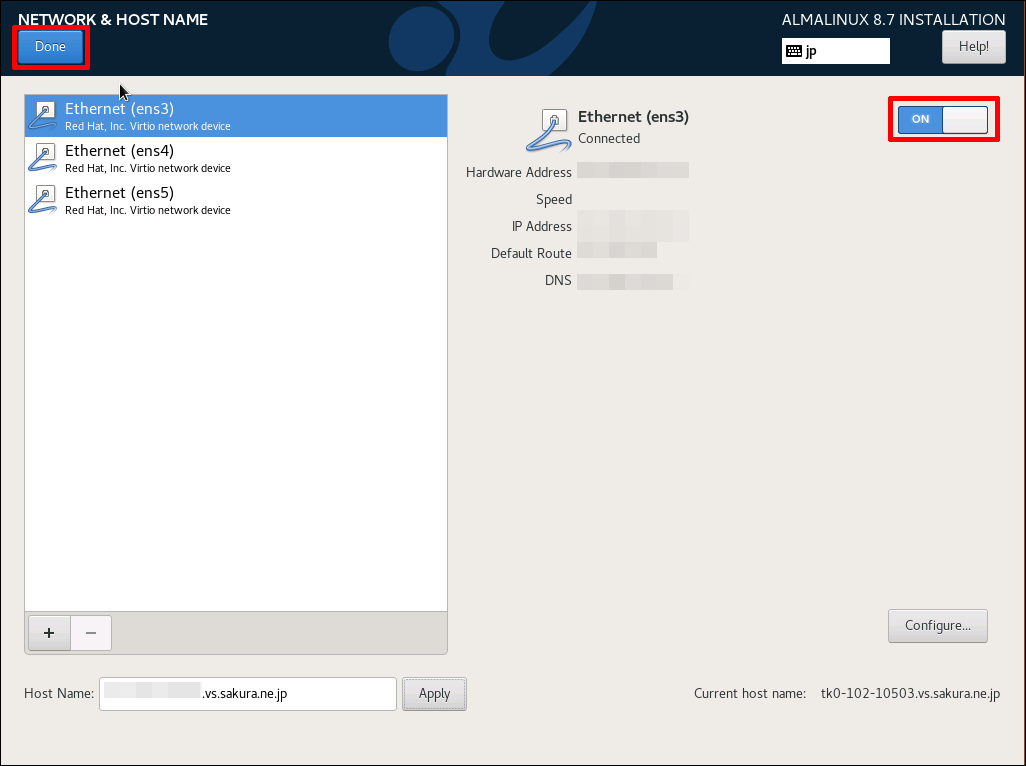
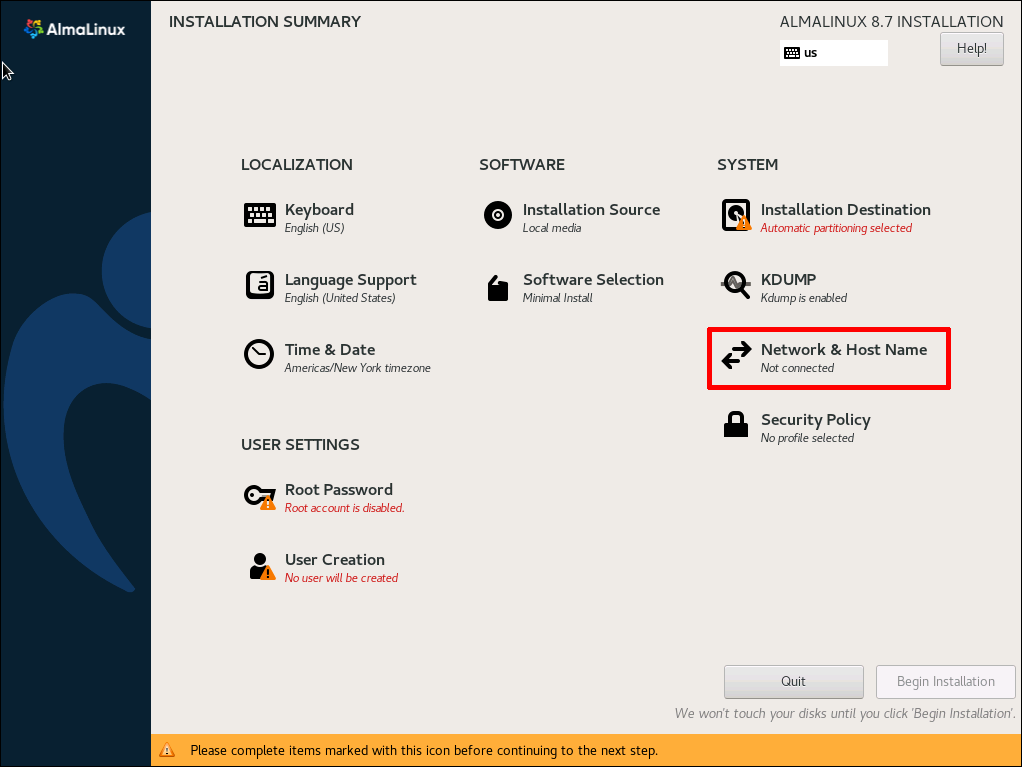
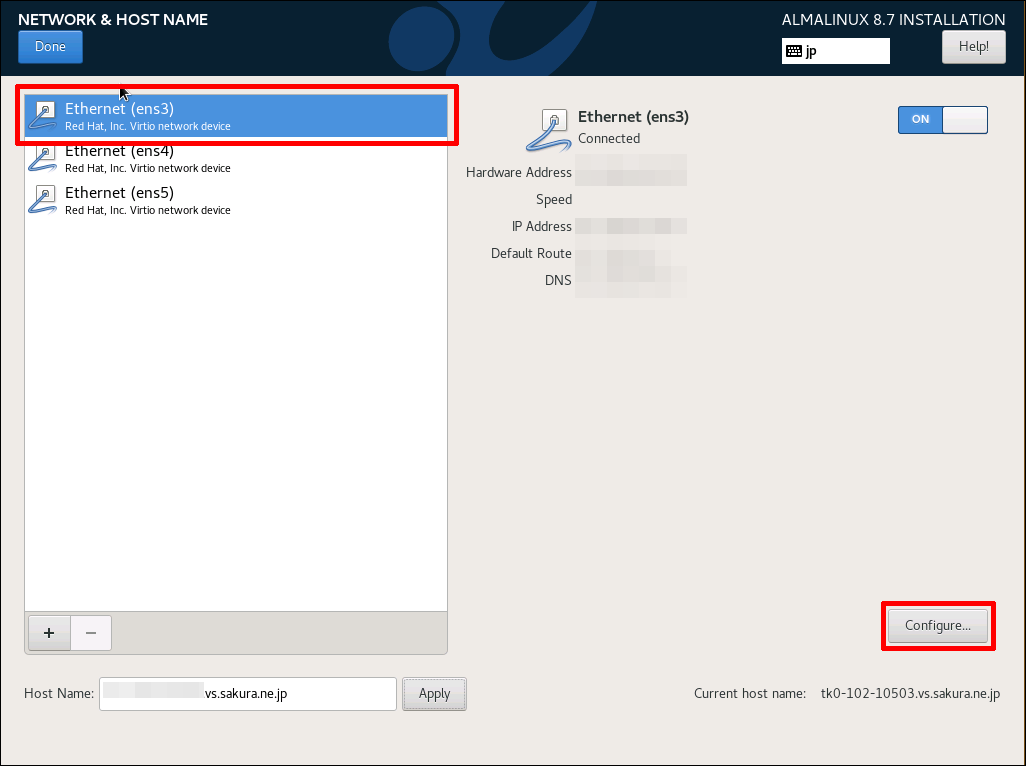
メイン画面の「Network and Hostname」をクリックします。
NICデバイスが3つ表示されるため、「Ethernet(ens3)」を選択し、「Configure...」ボタンをクリックします。
Note
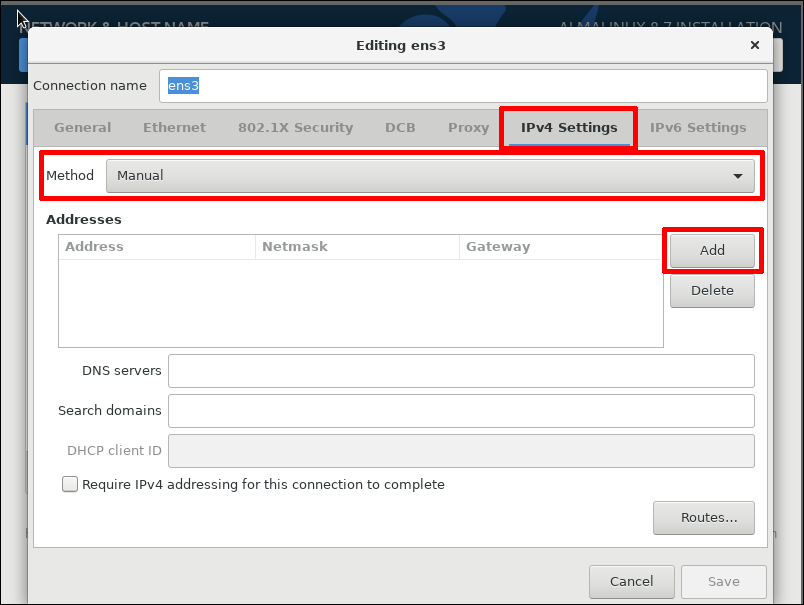
「IPv4 Settings」タブをクリック、Methodから「Manual」を選択し、「Add」ボタンをクリックします。
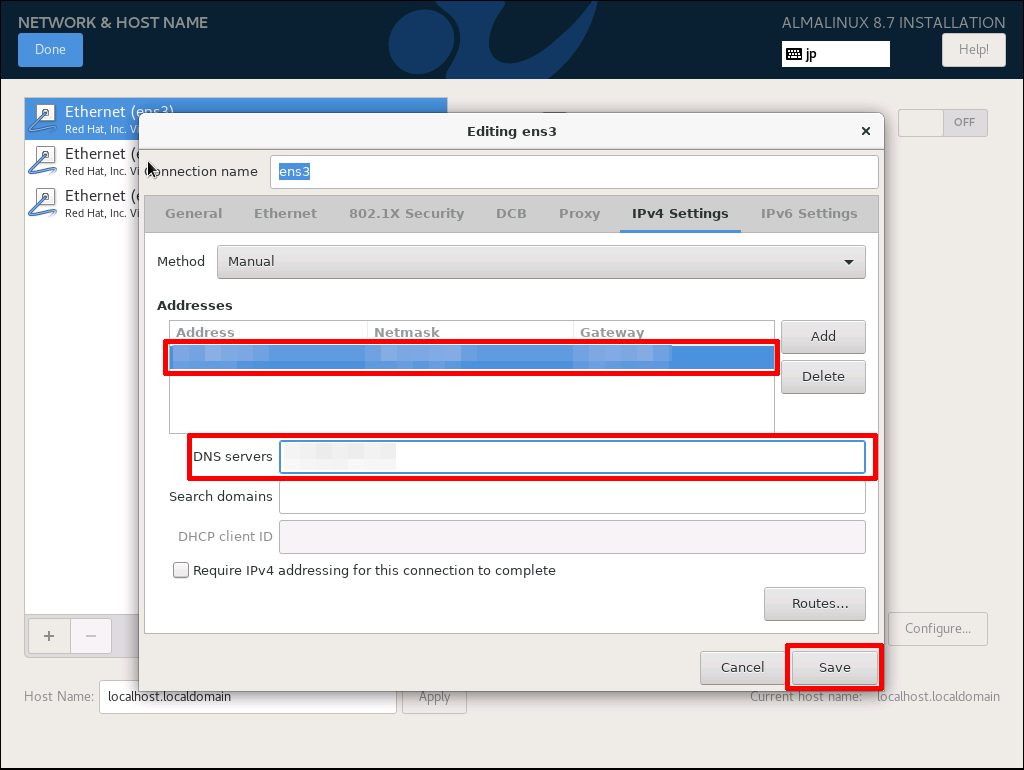
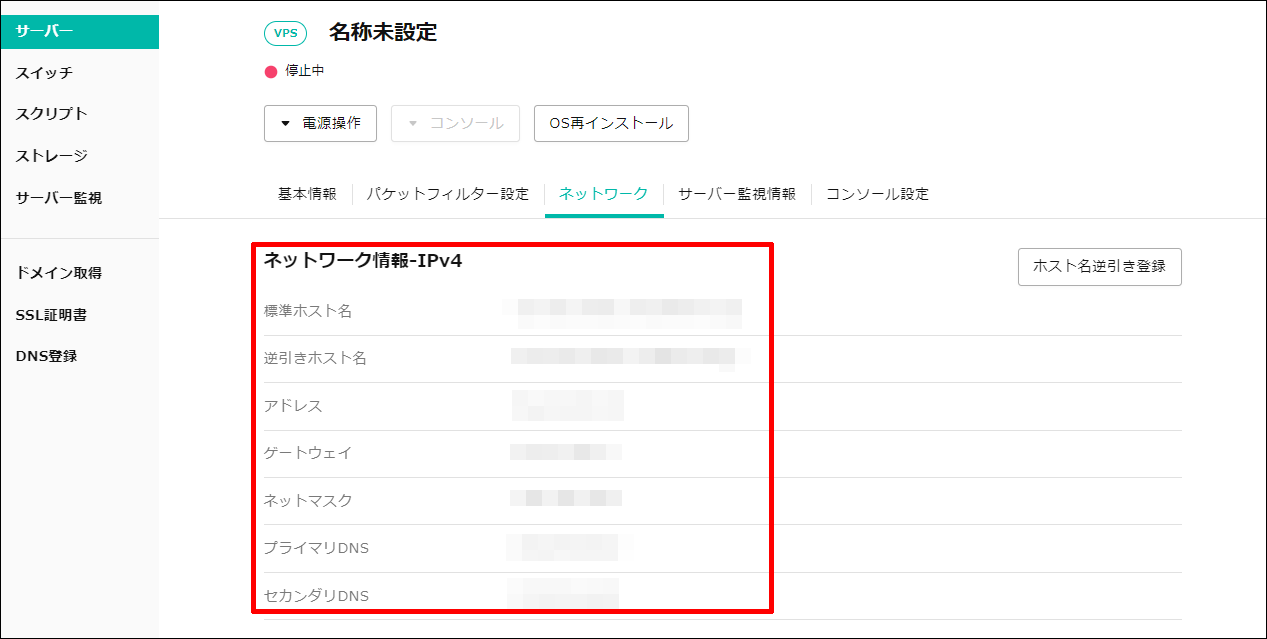
Address/Netmask/Gatway/DNS serversを入力し、「save」ボタンをクリックします。
Note
「Ethernet(ens3)」を「on」に変更します。 必要に応じてHostnameも変更してください。 すべての設定が完了したら「Done」ボタンをクリックします。