Debian
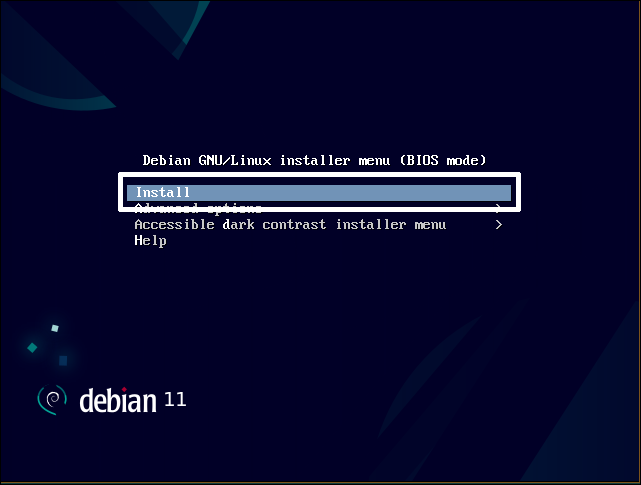
ここでは、Debian 11 / Debian 12 / Debian 13 のインストール方法について説明します。 本ページでは Debian 11 の画像を使用してご案内しています。 他のバージョンをご利用の場合は、適宜読み替えをお願いします。
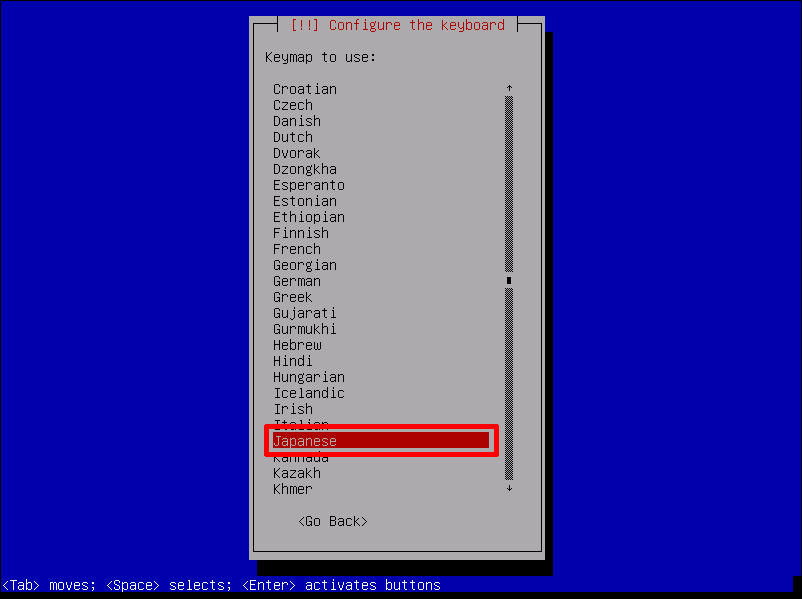
ローカリゼーションを設定する
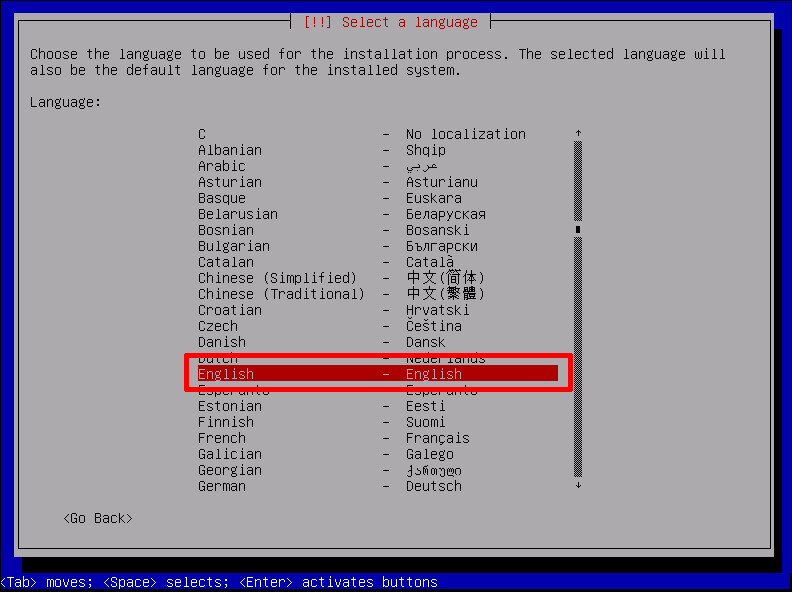
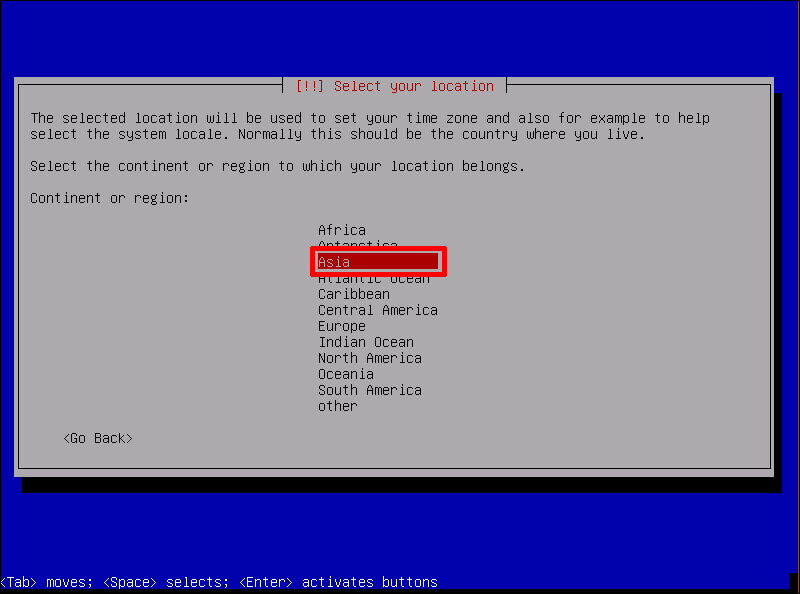
Locationを設定する
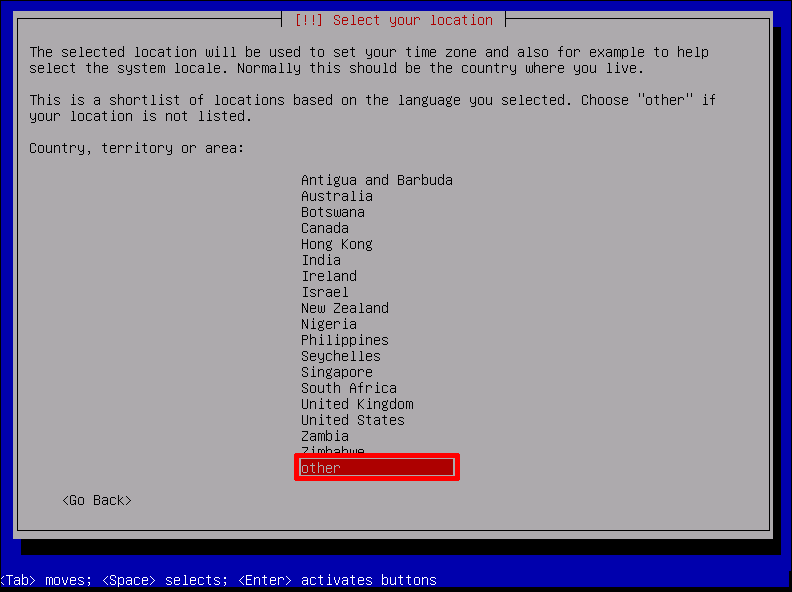
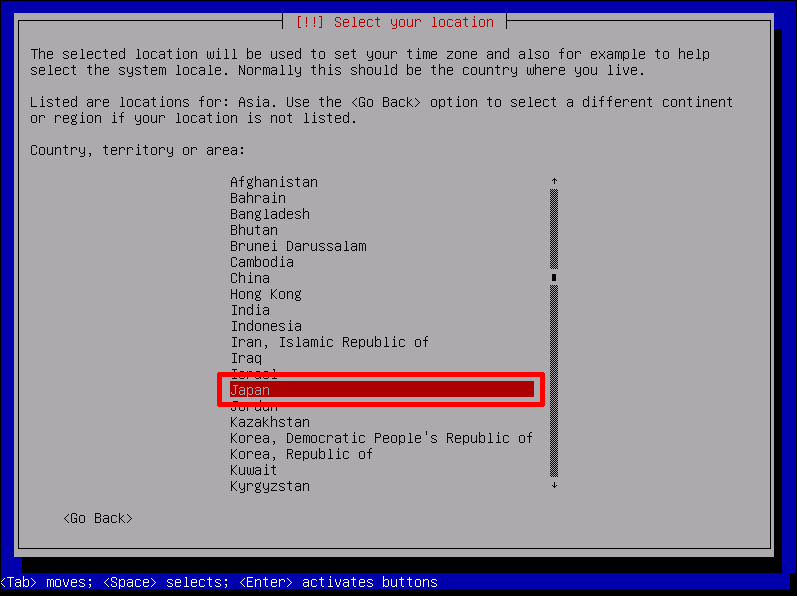
Localeは 「United States - en_US.UTF-8」を選択し、「Enterキー」を押します。

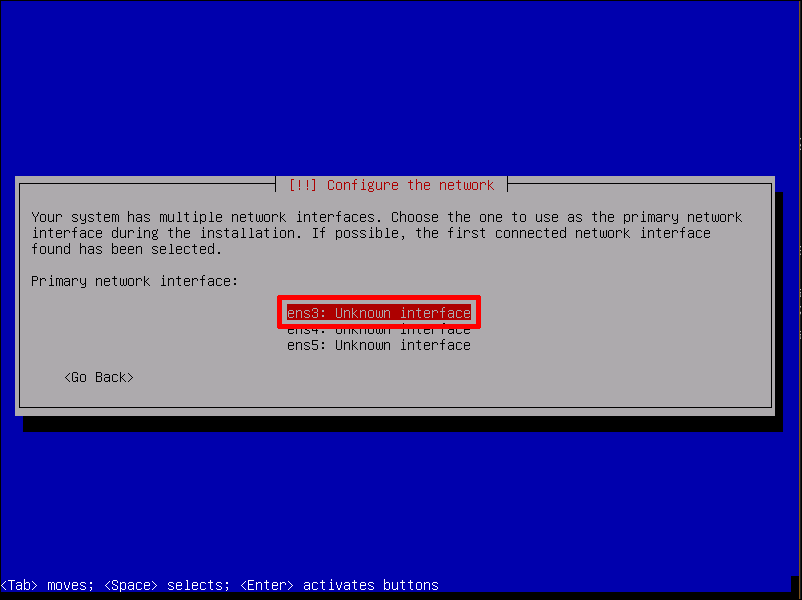
Networkを設定します。
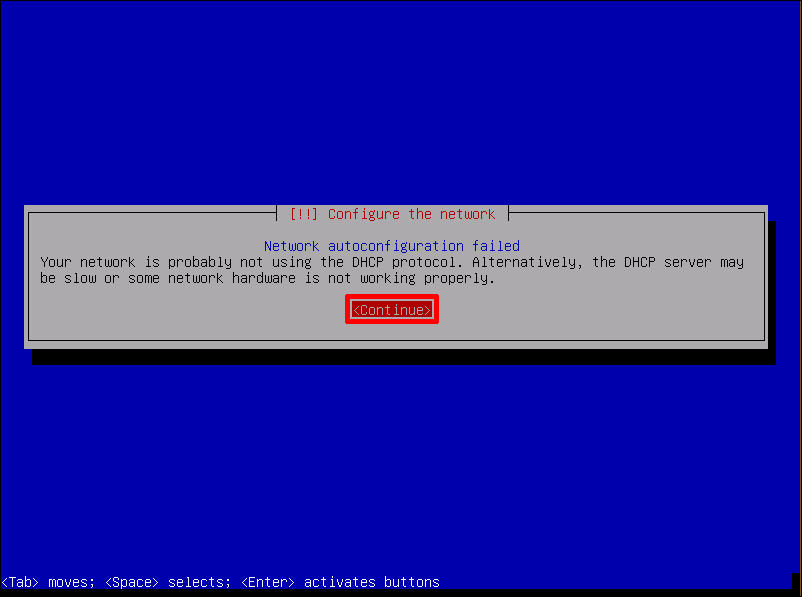
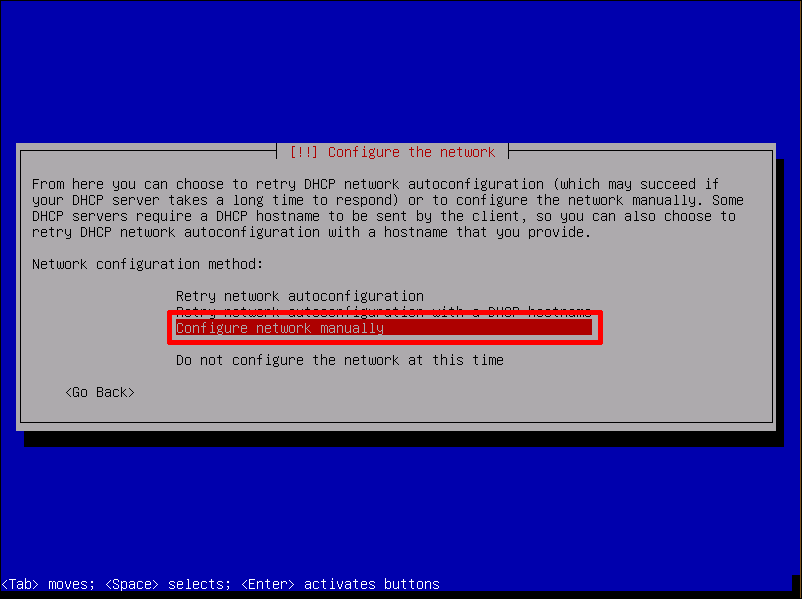
しばらく待つと、DHCPでのIPアドレス設定の失敗を示す画面が表示されますが、そのまま「Continue」を選択し、「Enterキー」を押します。
「Configure network manually」を選択し、「Enterキー」を押します。
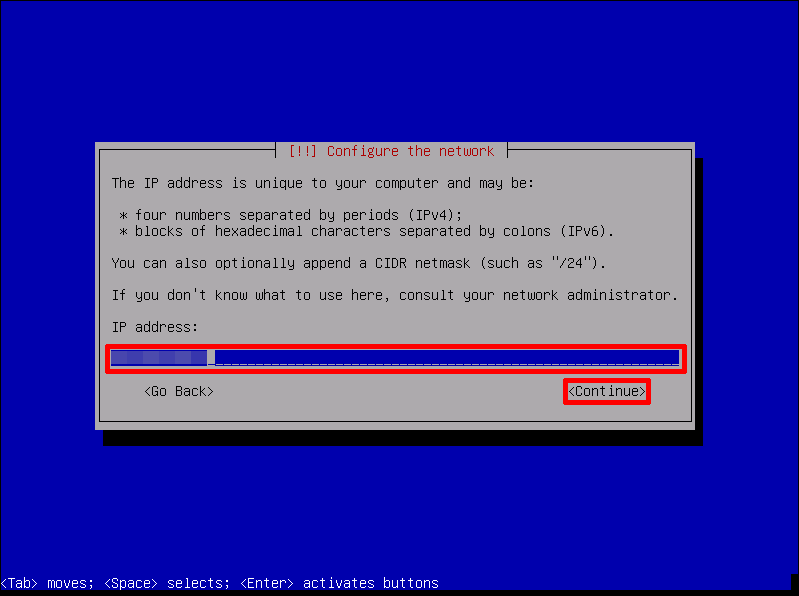
IP addressを入力、「Continue」を選択し、「Enterキー」を押します。
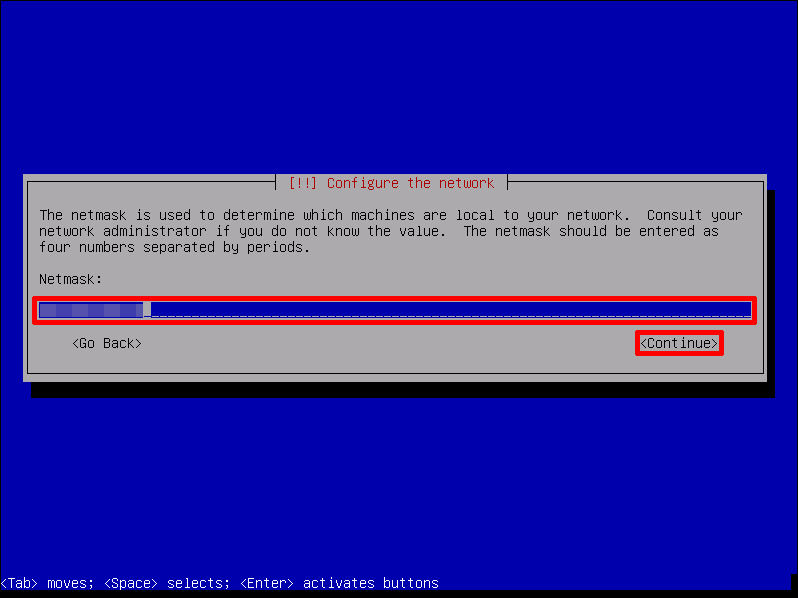
Netmaskを入力、「Continue」を選択し、「Enterキー」を押します。
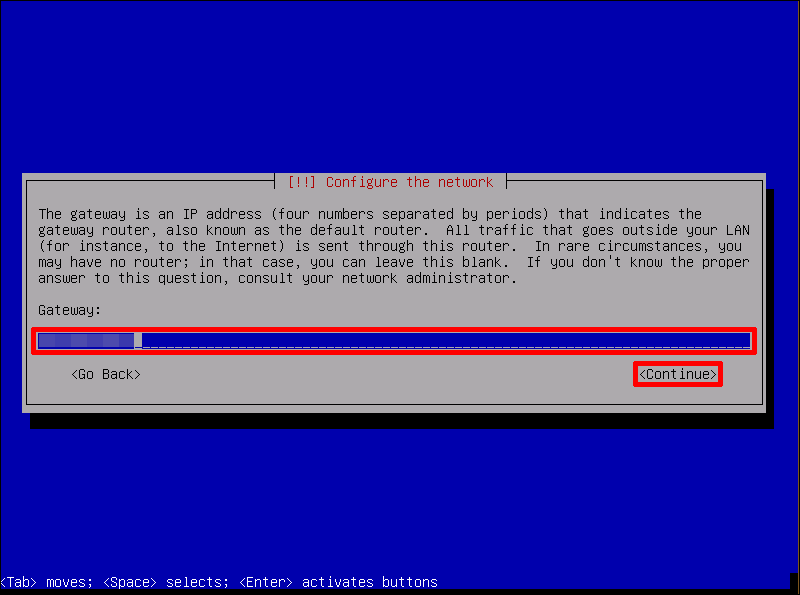
Gatewayを入力、「Continue」を選択し、「Enterキー」を押します。
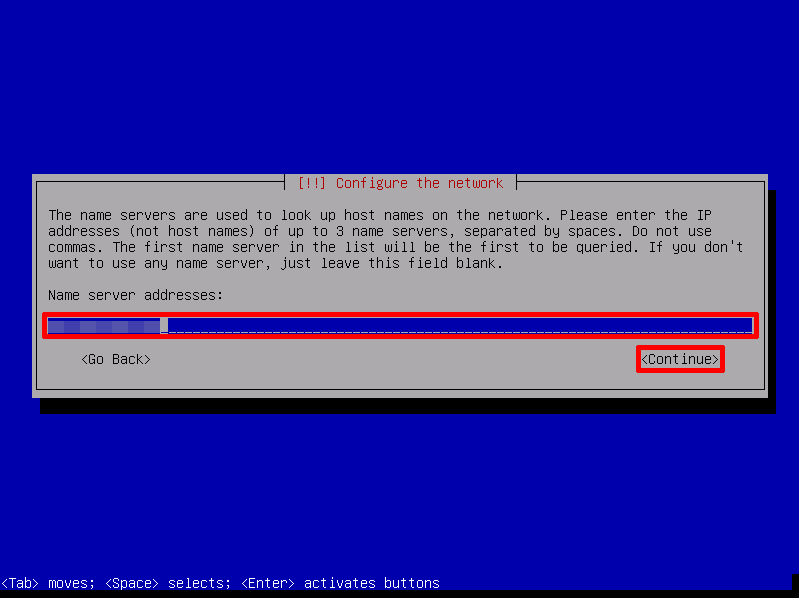
Nameserverを入力、「Continue」を選択し、「Enterキー」を押します。
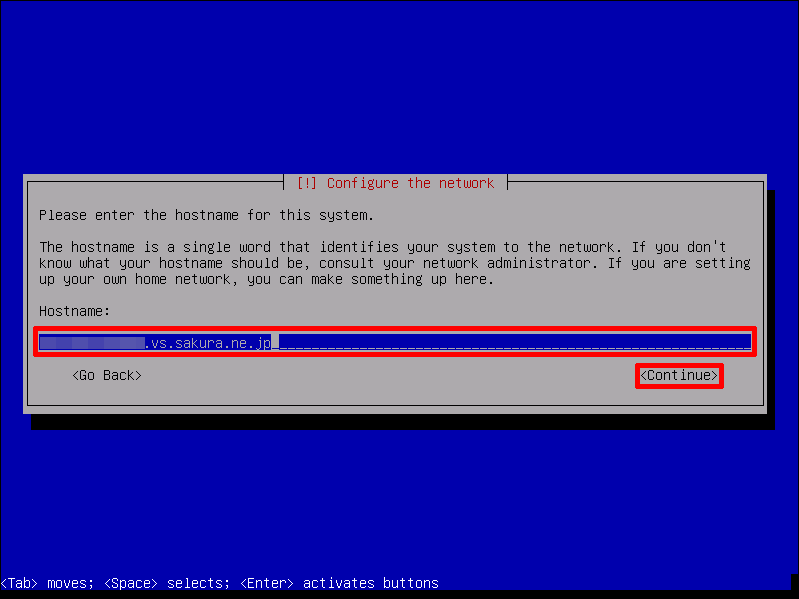
Hostnameを入力、「Continue」を選択し、「Enterキー」を押します。
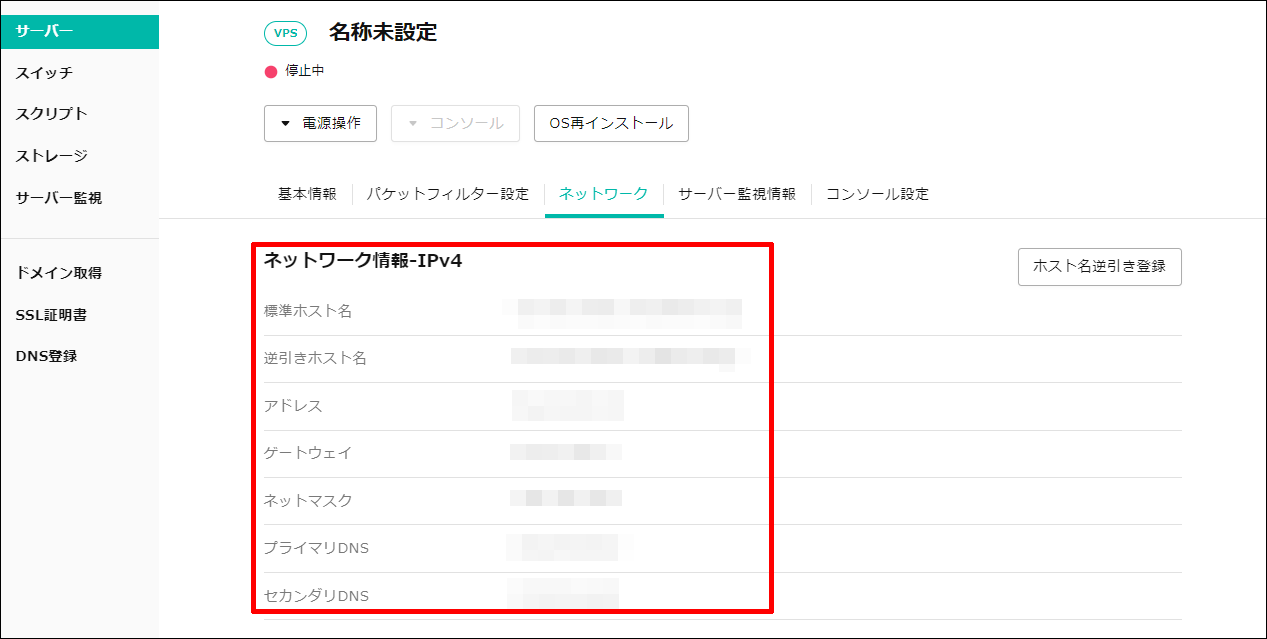
Note
正確なネットワーク情報はVPSコントロールパネルの「サーバー」-「ネットワーク」から確認できます。
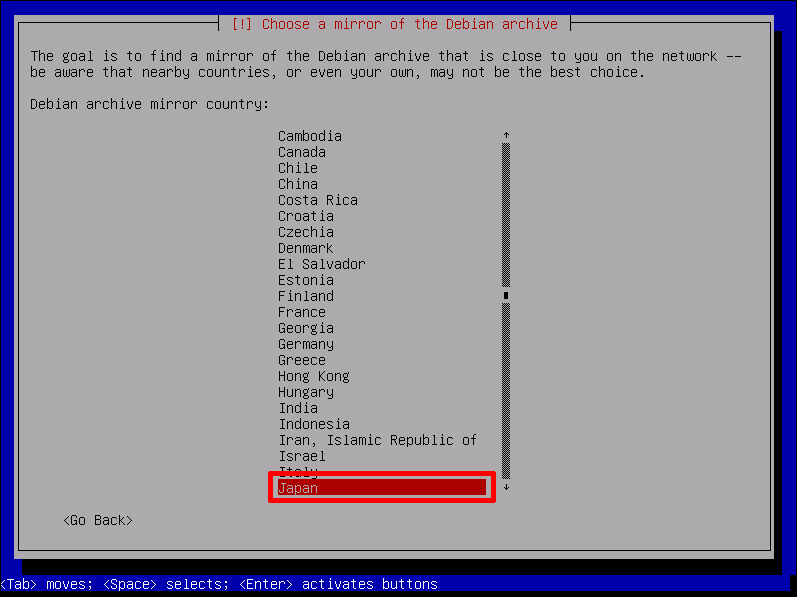
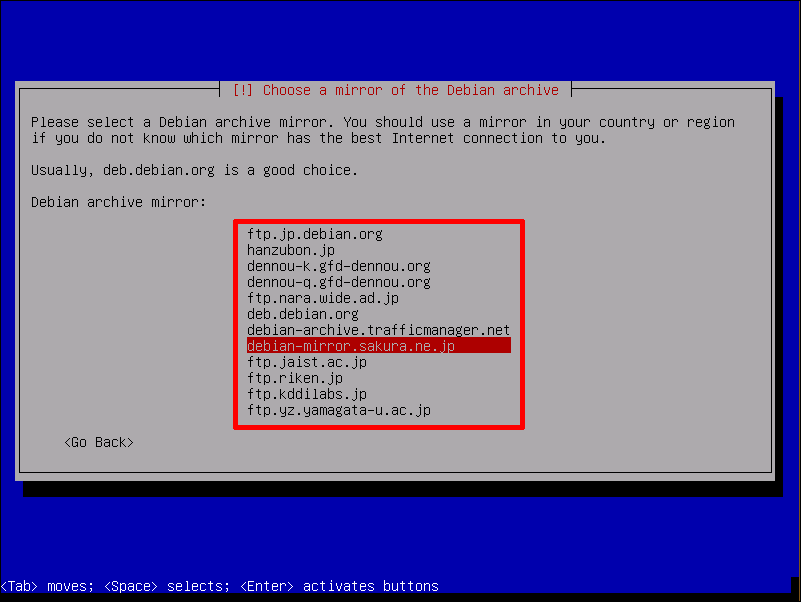
任意のミラーサイトを選択し、「Enterキー」を押します。
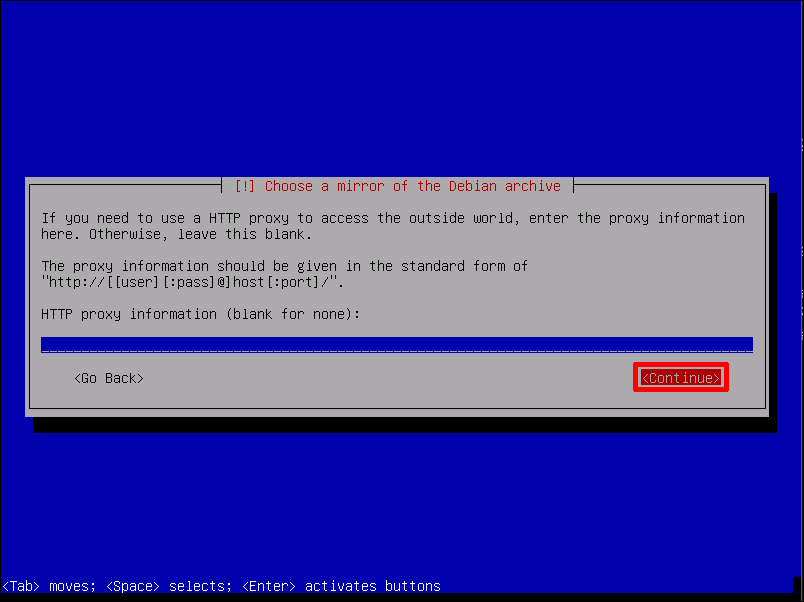
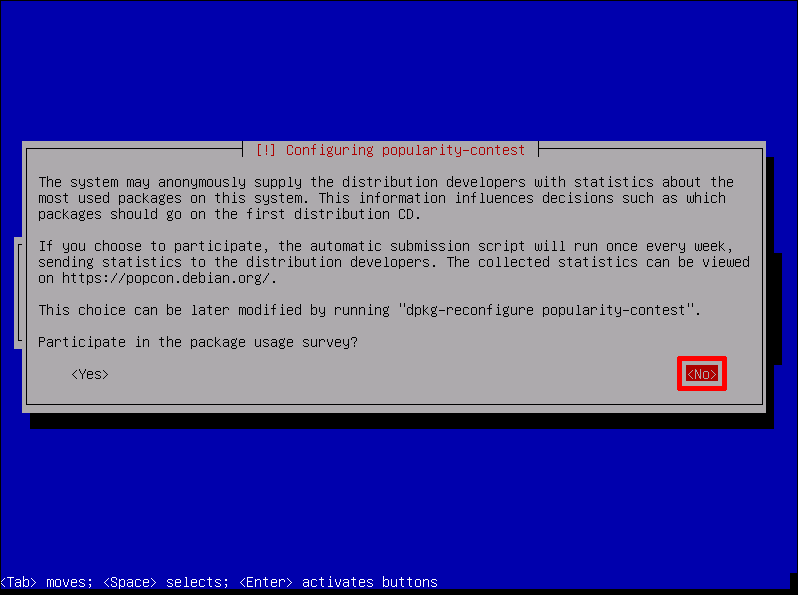
Proxyは特にないため、そのまま「Continue」を選択し、「Enterキー」を押します。
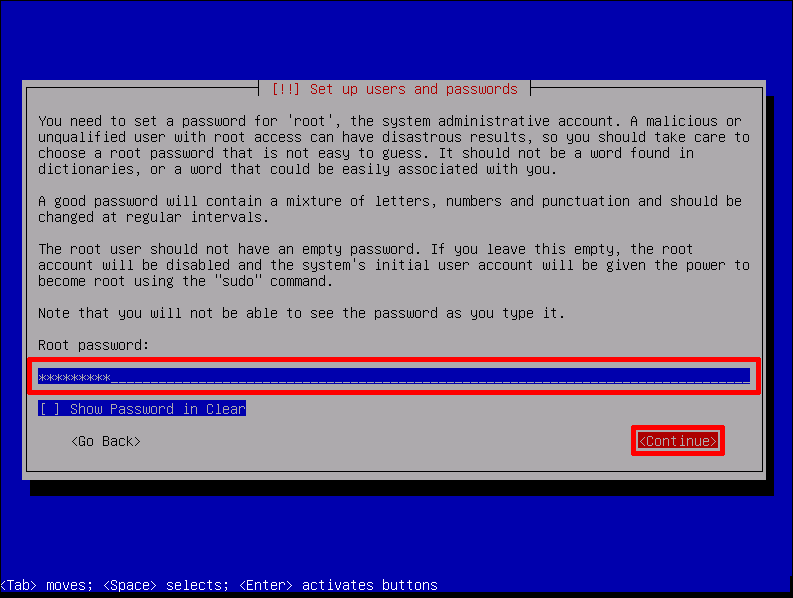
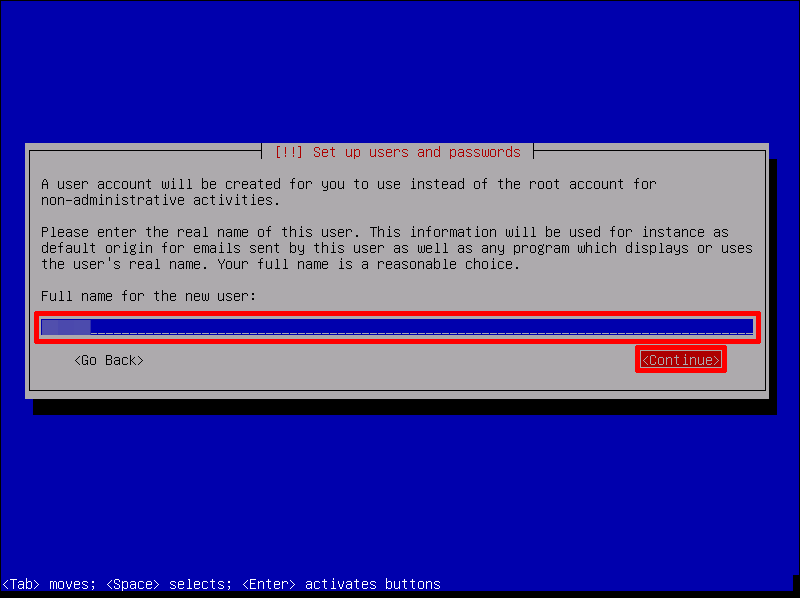
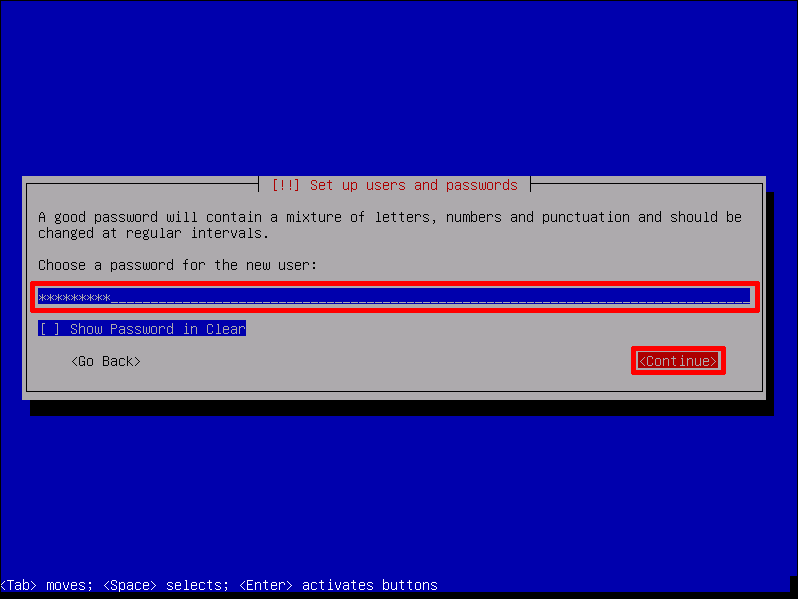
ユーザ設定
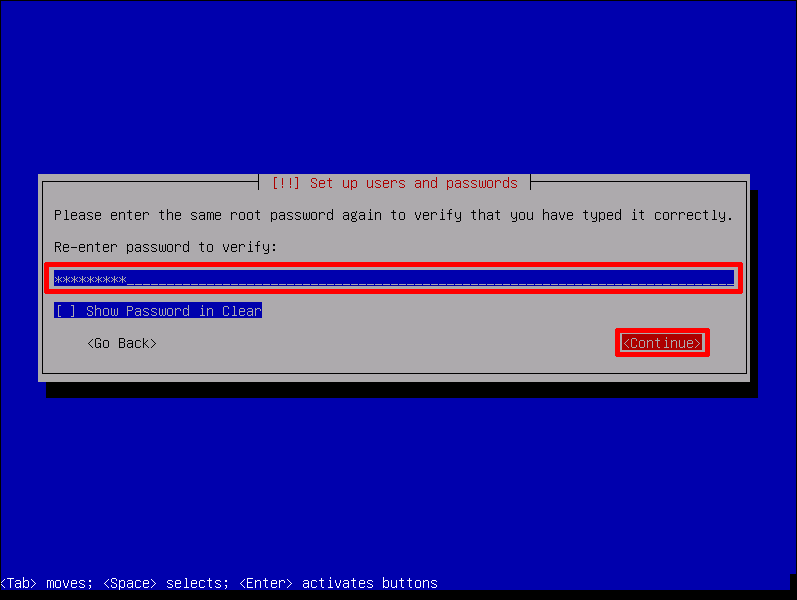
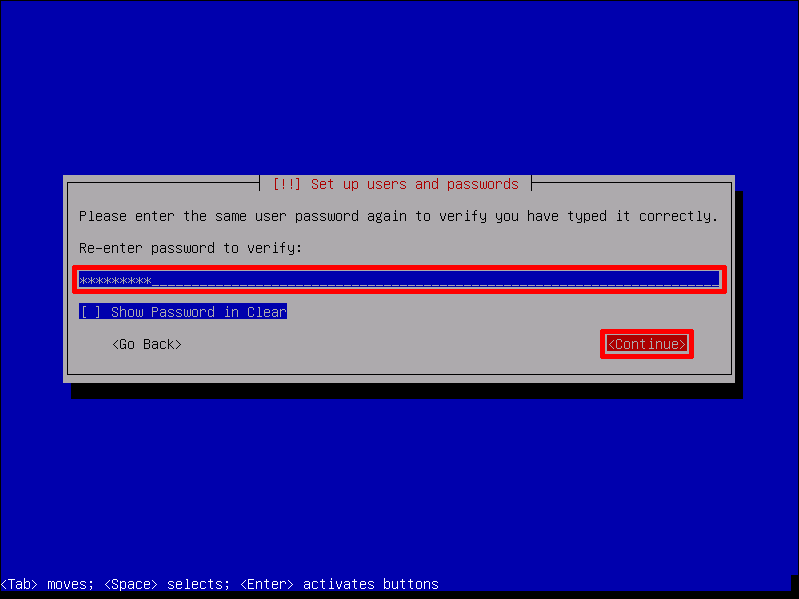
確認のため、再度同じパスワードを入力、「Continue」を選択し、「Enterキー」を押します。
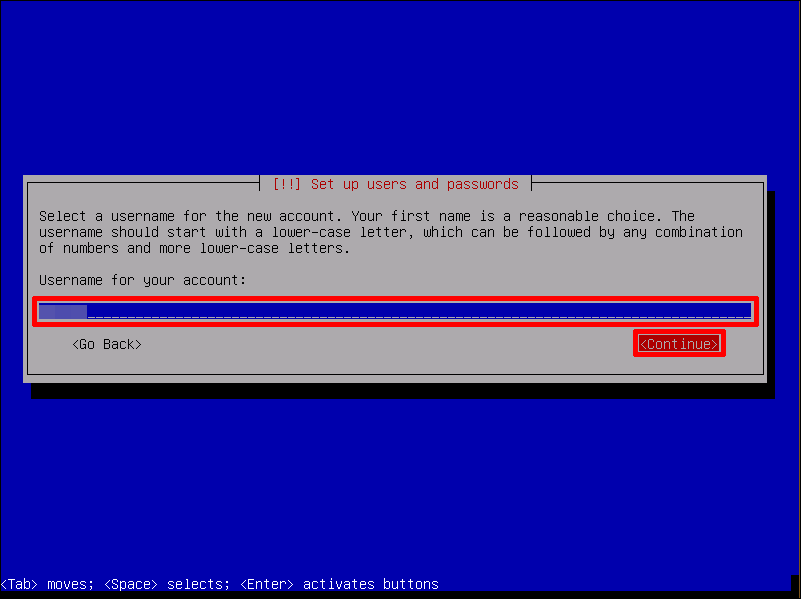
任意のユーザー名を入力、「Continue」を選択し、「Enterキー」を押します。
確認のため、再度同じパスワードを入力、「Continue」を選択し、「Enterキー」を押します。
パーティション設定
Note
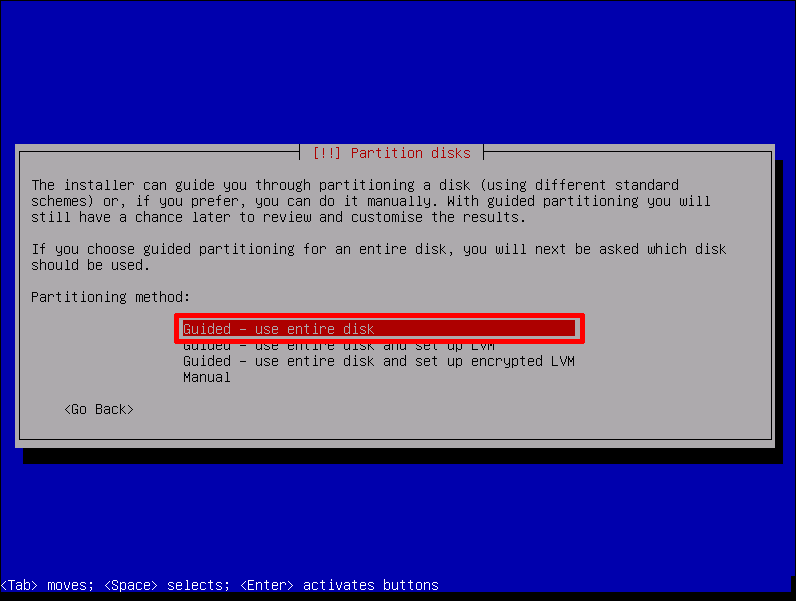
Partitioning method から「Guided - use entire disk」を選択し、「Enterキー」を押します。
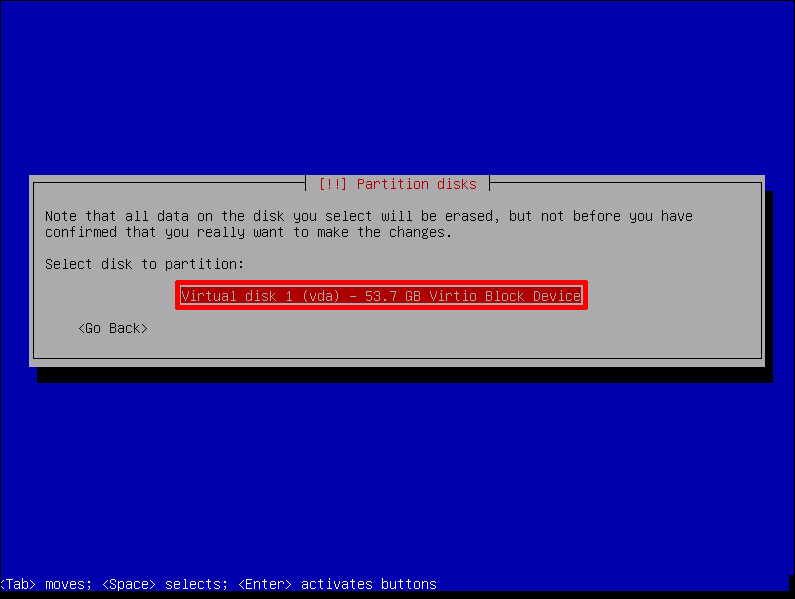
Diskを選択し、「Enterキー」を押します。通常はVitual disk 1 (vda)を選択します。
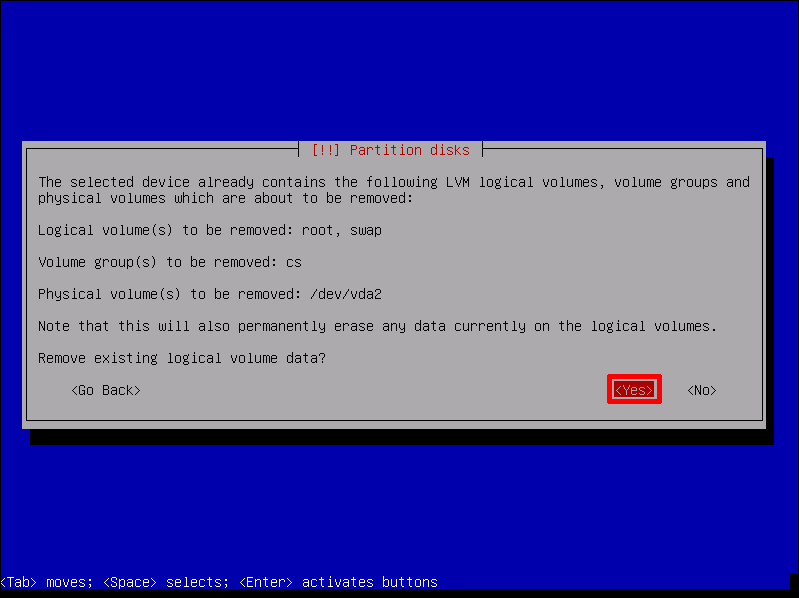
古いディスクパーティション情報が存在する場合、警告が表示されますが、特に問題なければ「Yes」を選択し、「Enterキー」を押します。
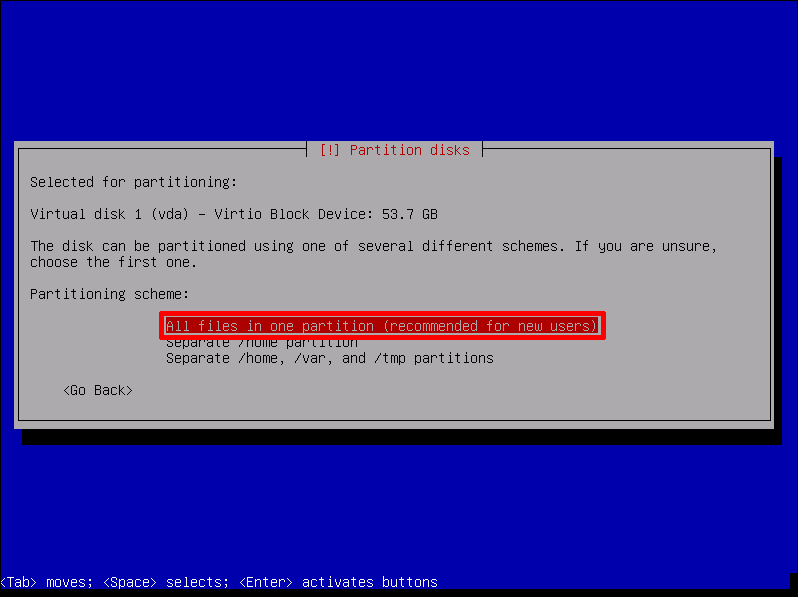
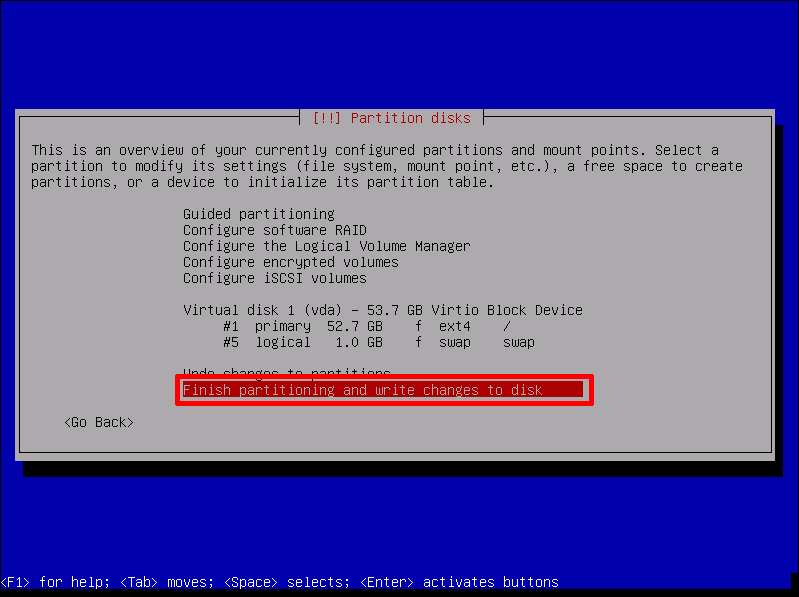
「Finish partitioning and write changes to disk」を選択し、「Enterキー」を押します。
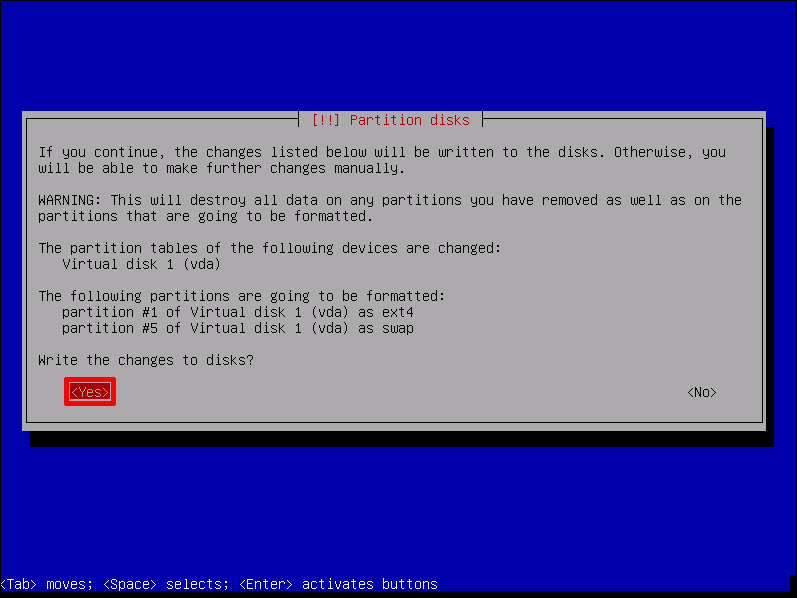
最終確認画面が表示されます。問題なければ、「Yes」を選択し、「Enterキー」を押します。
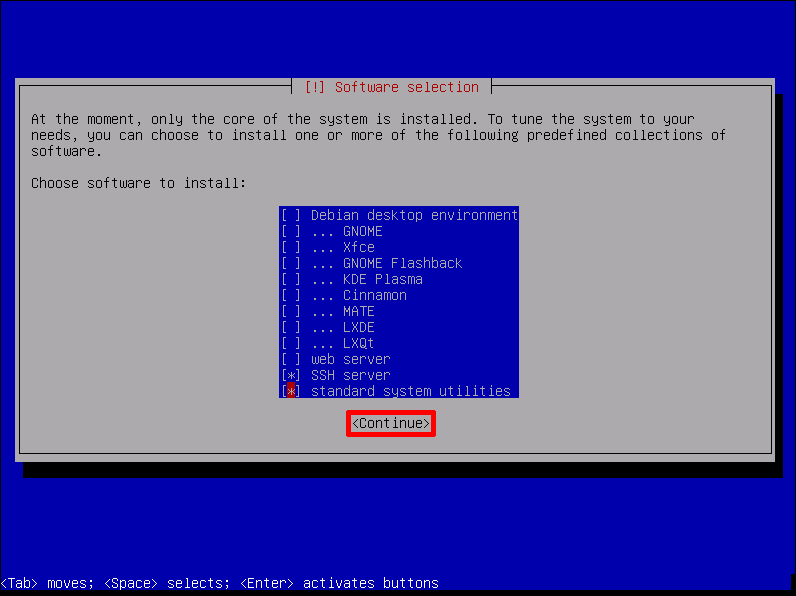
OS及び追加SOFTWAREのインストール
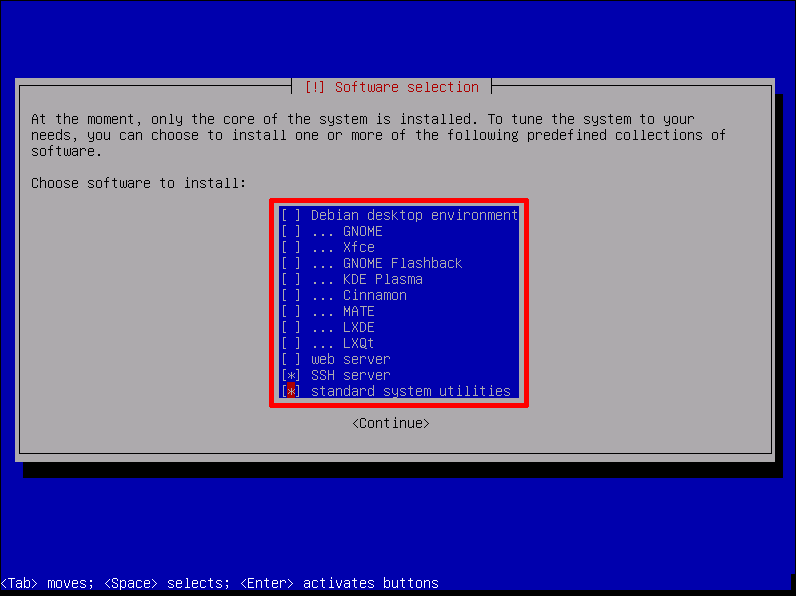
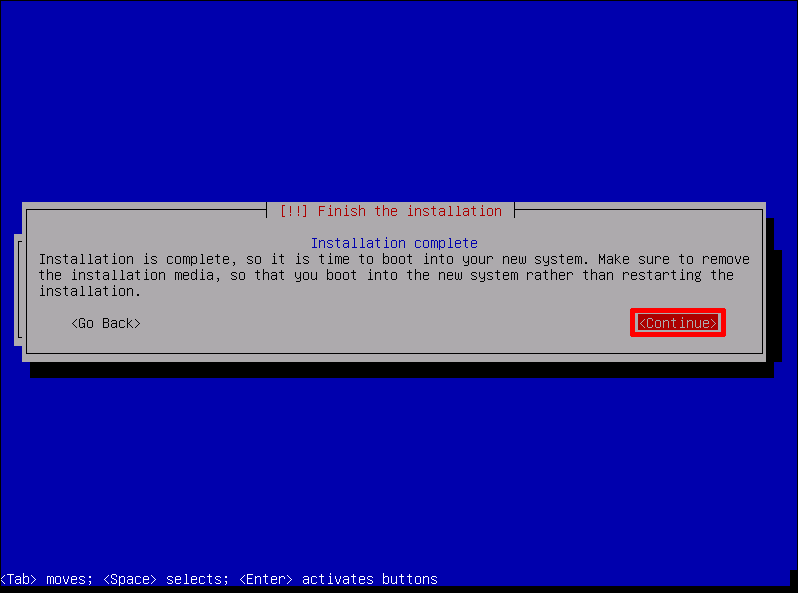
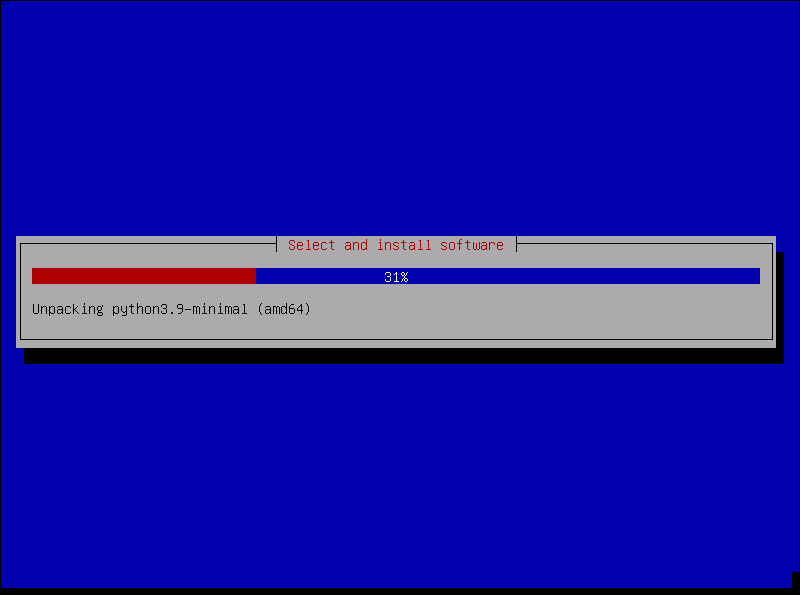
「Continue」を選択し、「Enterキー」を押すとインストールが開始されます。
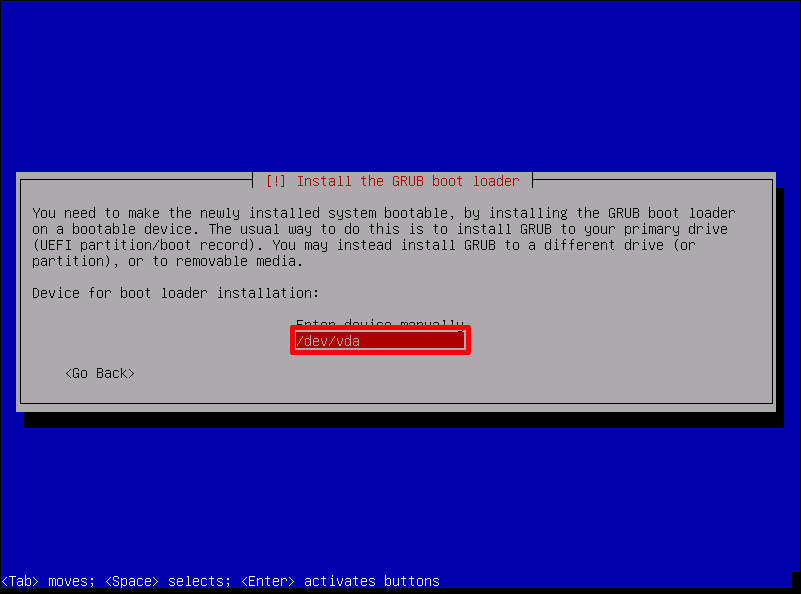
GRUBのインストール

GRUBのインストール先は「/dev/vda」 を選択し、「Enterキー」を押します。