FreeBSD
インストーラーを実行する
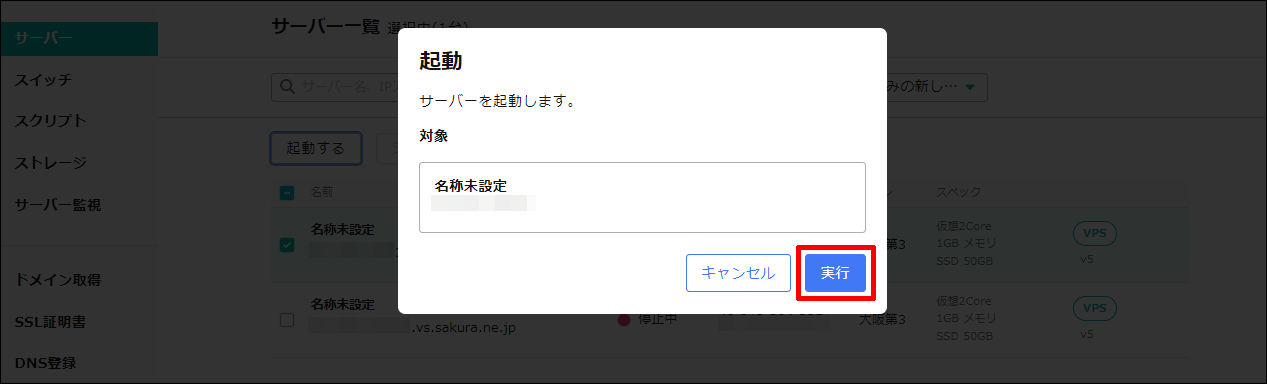
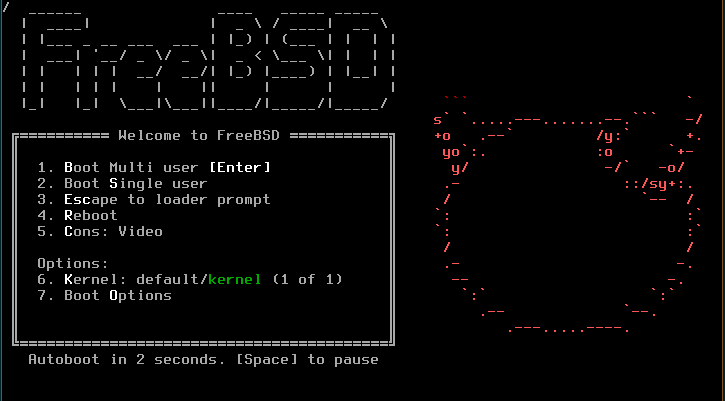
インストーラー起動後、ブートメニューが表示されたら、そのまま「Enterキー」を押します。
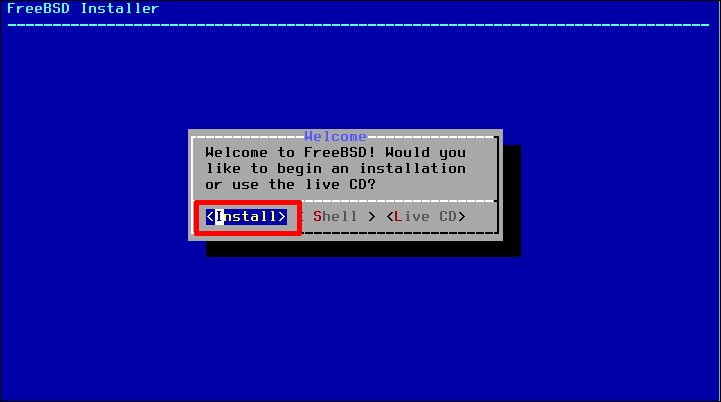
Welcome 画面が表示されます。「Install」を選択し、「Enterキー」を押します。
Keymapを設定する
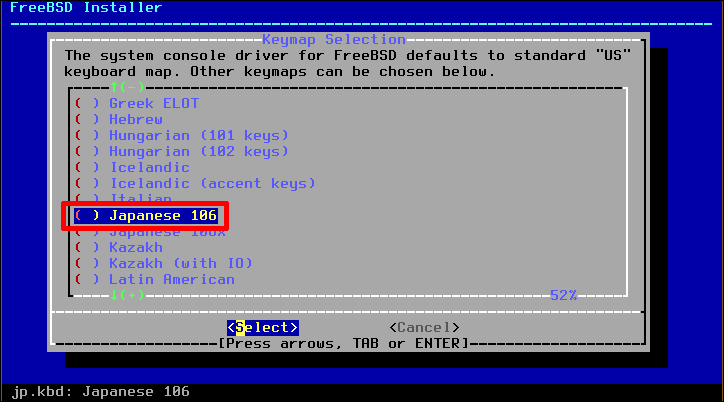
Keymap Selection
USキーボードでも特に問題なければ、そのまま「Enterキー」を押します。
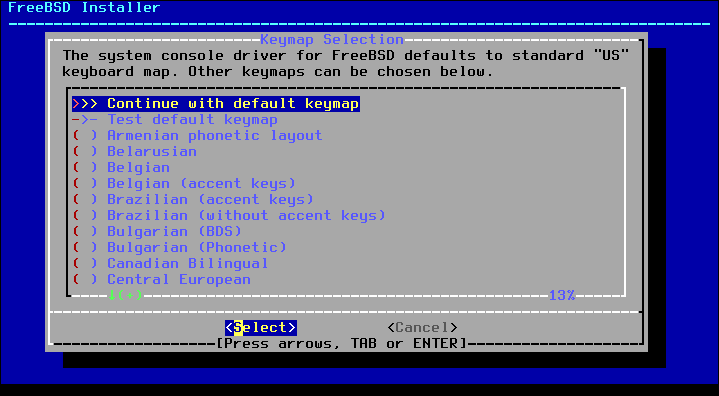
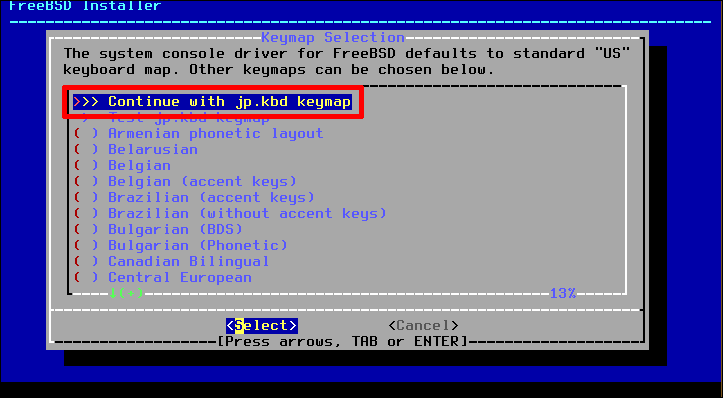
キーボードのテストが必要なければ、「Continue with jp.kbd keymap」を選択し、「Enterキー」を押します。
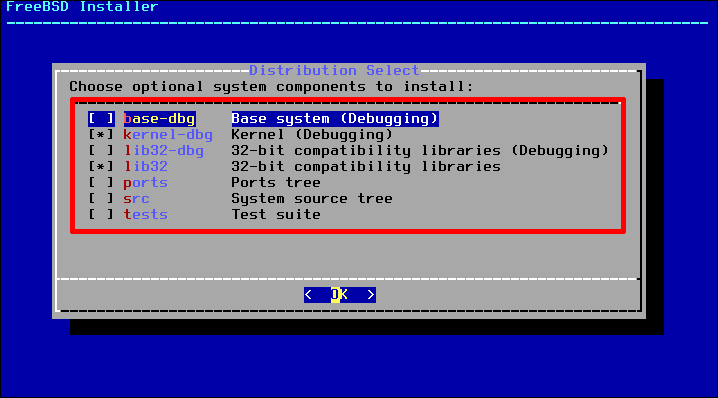
追加コンポーネント
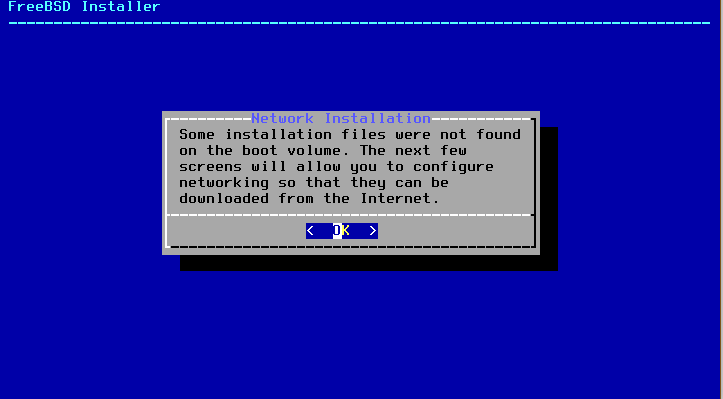
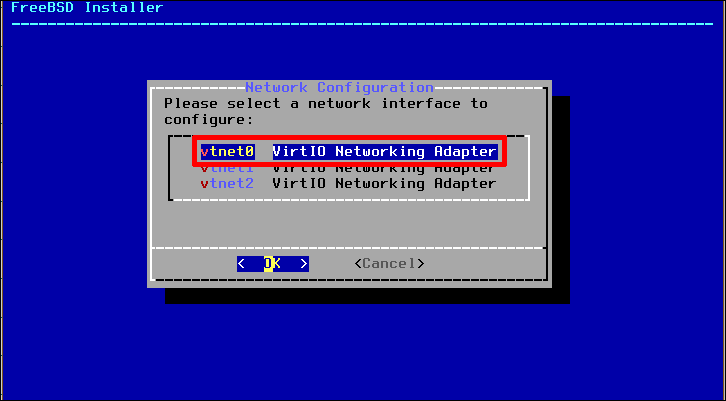
Networkを設定します。
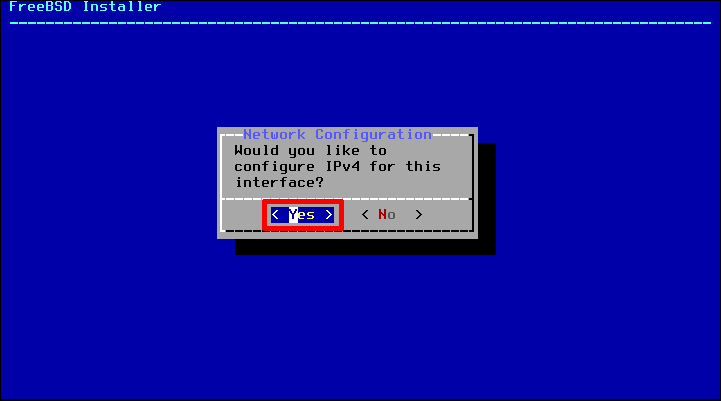
IPv4を設定するため、「Yes」を選択し、「Enterキー」を押します。
DHCPは使用しないため、「No」を選択し、「Enterキー」を押します。

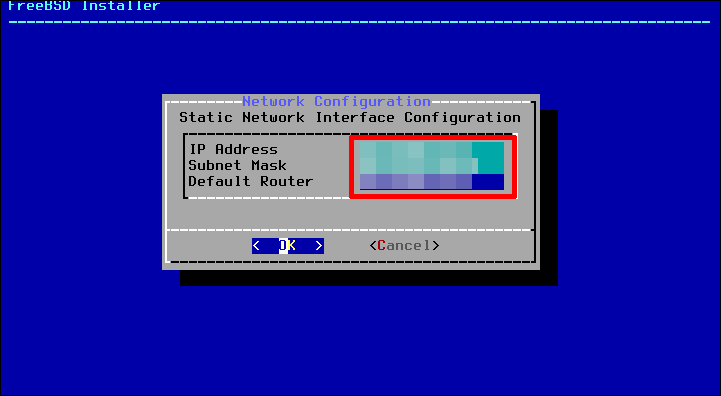
IP address / Subnet Netmask / Default Router を入力し、「Enterキー」を押します。
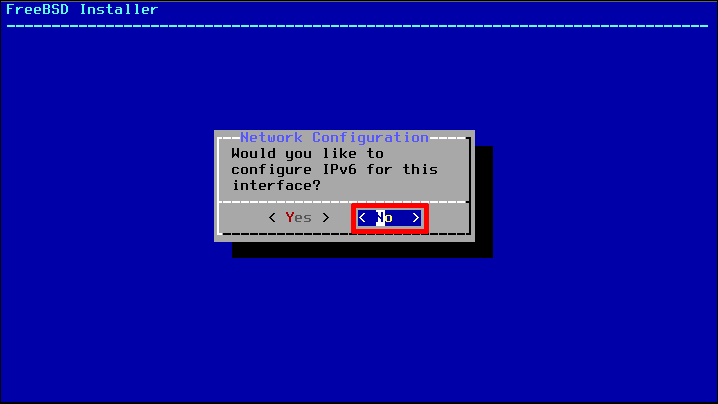
IPv6の設定は省略します。「No」を選択し、「Enterキー」を押します。
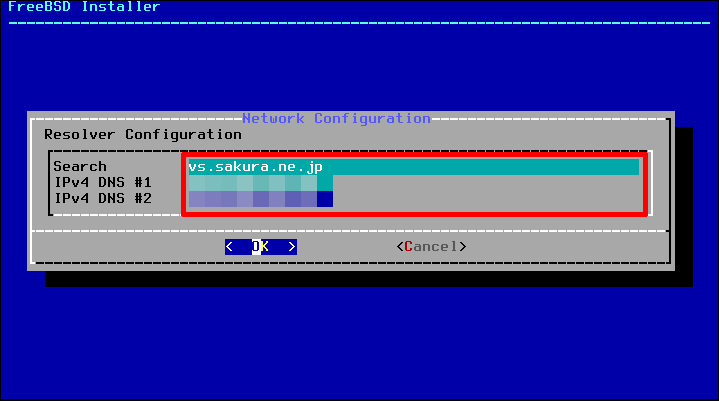
Search / IPv4 DNS #1 / IPv4 DNS #2 を入力し、「Enterキー」を押します。
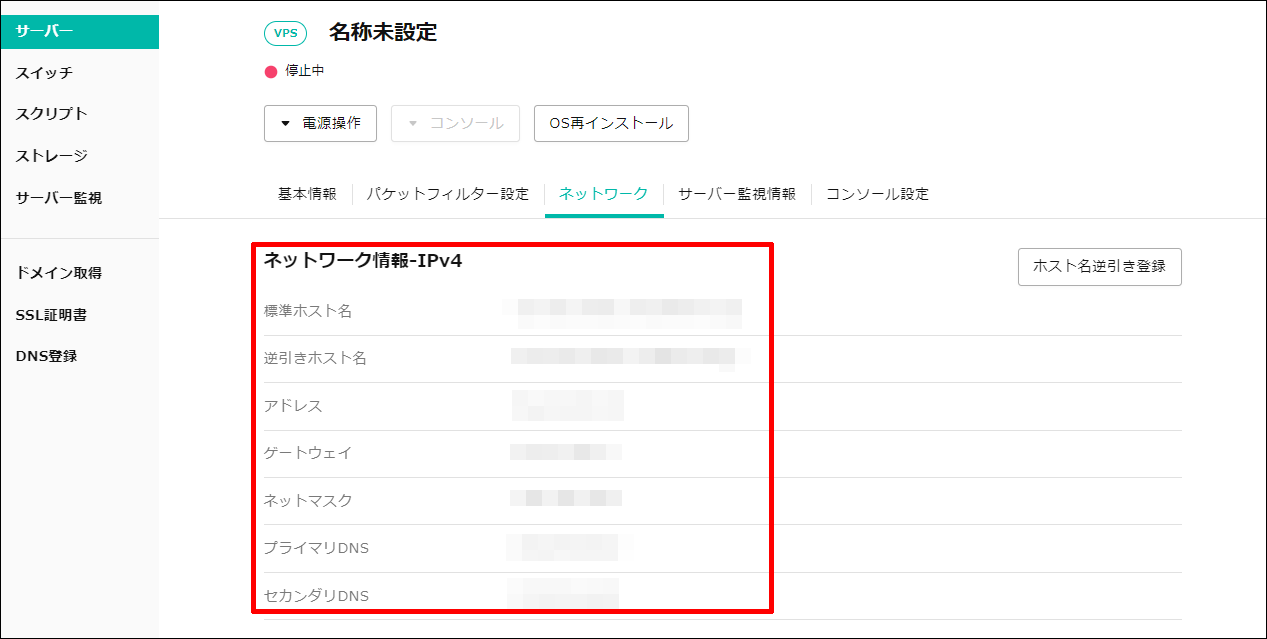
Note
正確なネットワーク情報はVPSコントロールパネルの「サーバー」-「ネットワーク」から確認できます。
パーティション設定
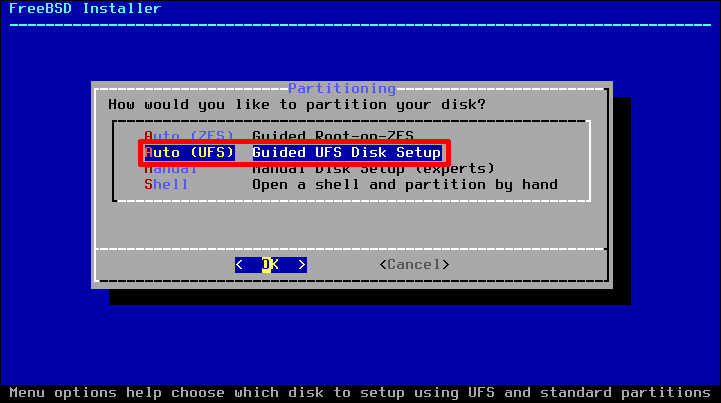
Note
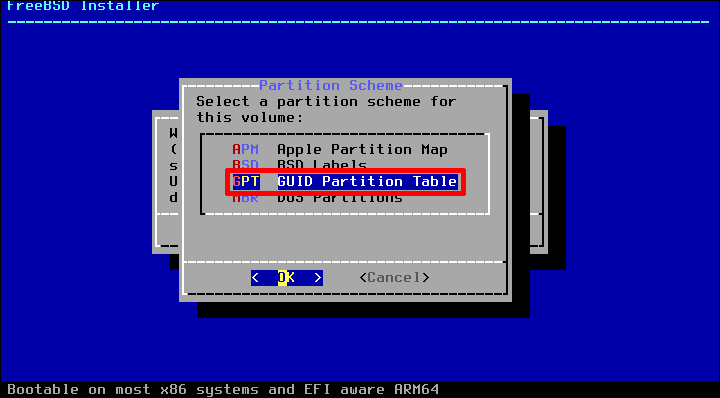
本手順書ではストレージのパーティションを「Auto (UFS)」として設定する方法を記載します。
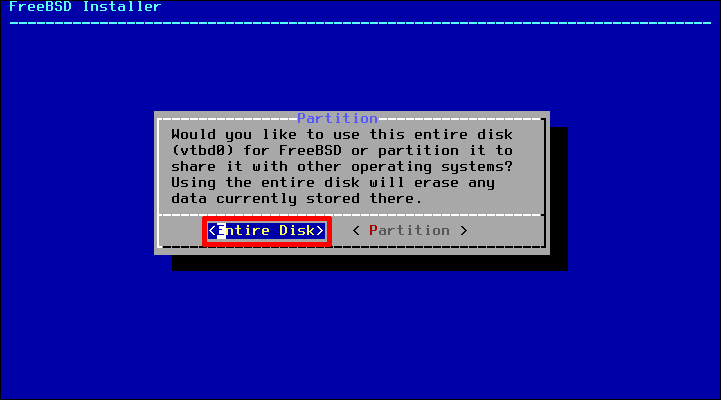
ディスク全体を利用するため、「Entire Disk」を選択し、「Enterキー」を押します。
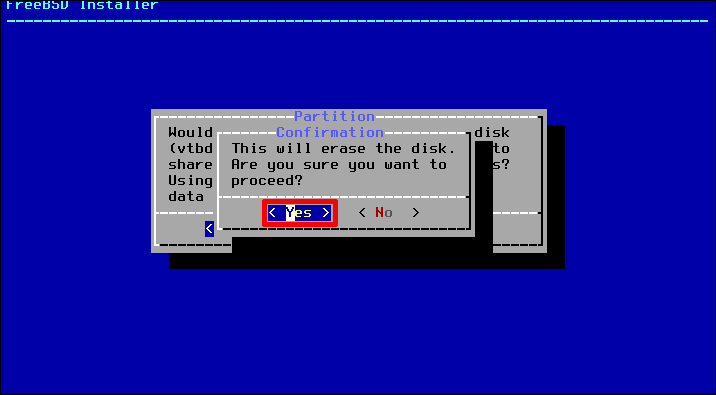
確認画面が表示されます。「Yes」を選択し、「Enterキー」を押します。
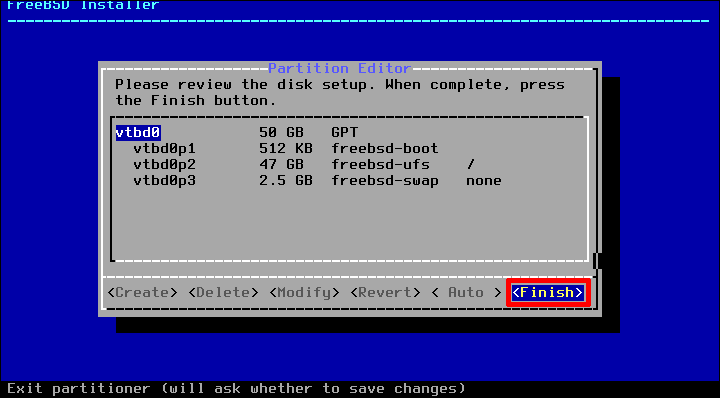
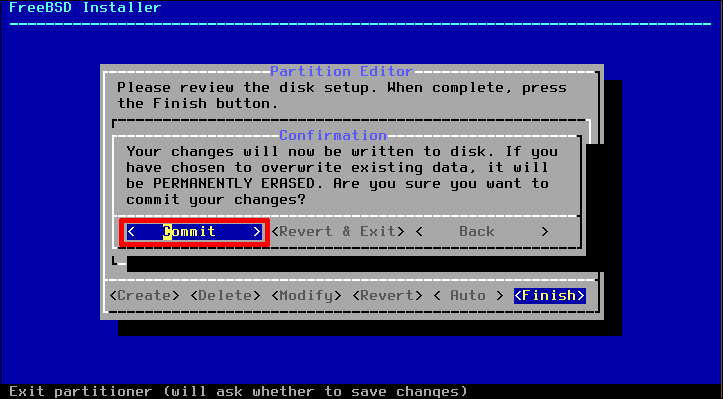
自動的にパーティションがつくられます。特に問題なければ、「Finish」を選択し、「Enterキー」を押します。
再度確認画面が表示されます。「Commit」を選択し、「Enterキー」を押します。
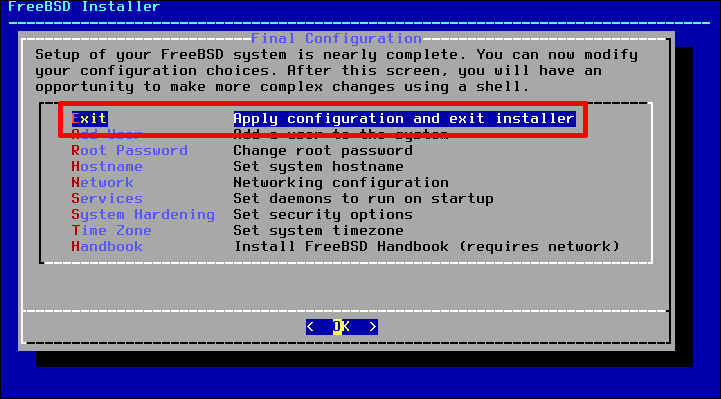
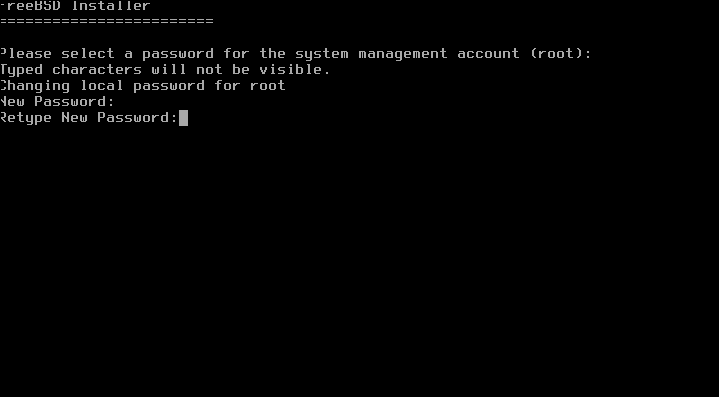
アカウント、タイムゾーンなどの追加設定
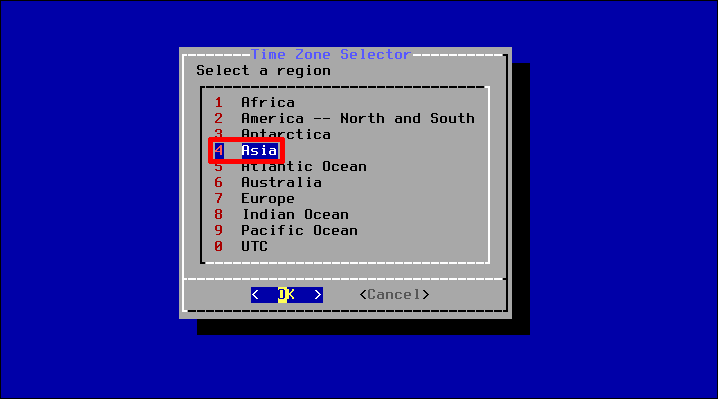
Timezone
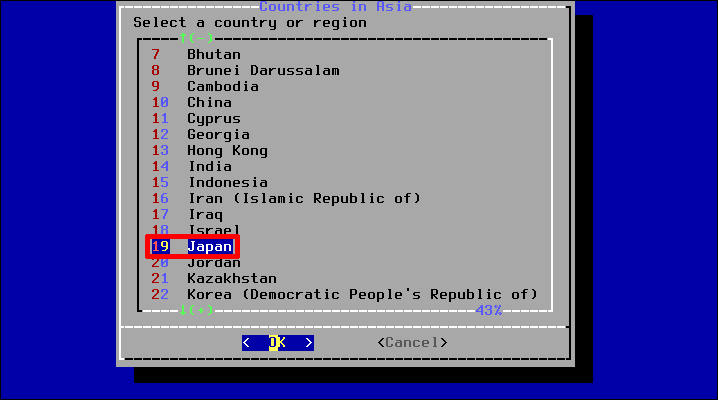
「Asia」 -> 「Japan」 の順番で設定します。
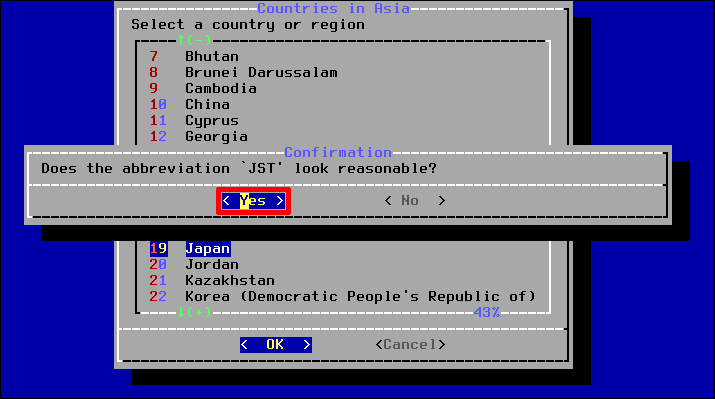
JSTであることを確認、「Yes」を選択し、「Enterキー」を押します。
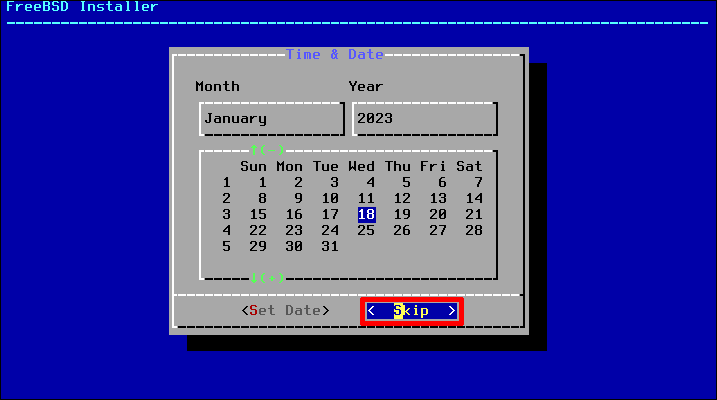
日付を確認、特に問題なければ、「Skip」を選択し、「Enterキー」を押します。
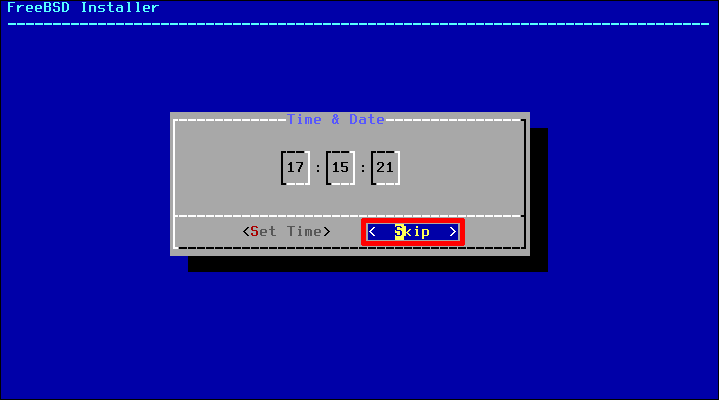
時刻を確認、特に問題なければ、「Skip」を選択し、「Enterキー」を押します。
一般ユーザーを作成
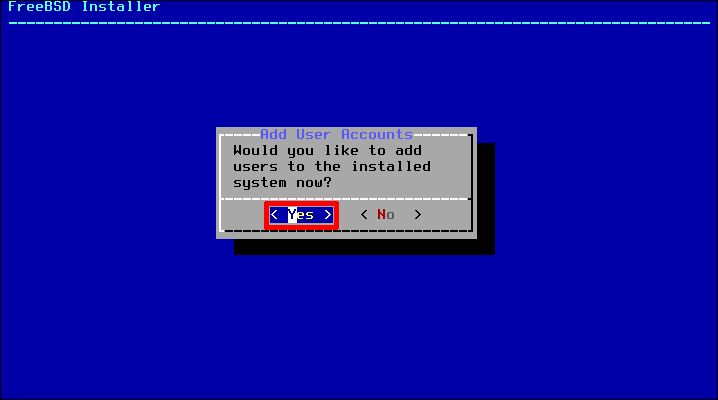
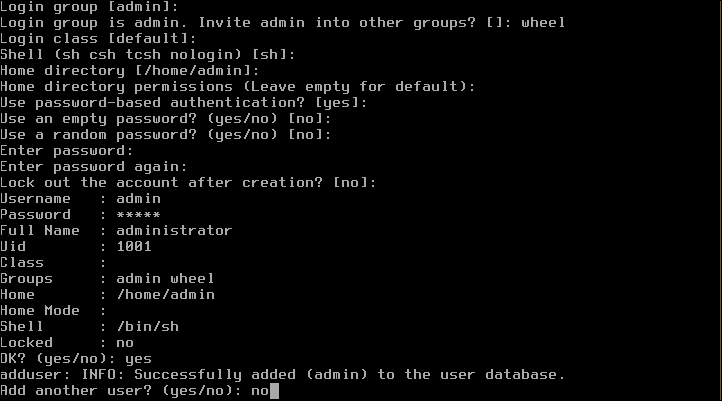
設定するユーザーアカウント情報を入力します。
入力内容 |
説明 |
|---|---|
Username |
ログイン時に使用する任意のユーザー名を入力 |
Full name |
任意のフルネームを入力 |
Uid |
ユーザーID番号(Uid)を設定する場合は入力 |
Login group [xxxxx] |
新しいユーザーのログイングループを設定する場合は入力 |
Login group is xxxxx.Invite xxxxx into other groups? |
新しいユーザーを別のグループに追加する場合は入力。管理者アクセスが必要な場合は「wheel」と入力 |
Login class? |
ログインクラスを指定する場合は入力 |
Shell(sh csh tcsh nologin)? |
シェルを選択 |
Home directory |
ユーザーのホームディレクトリを変更する場合は入力 |
Home directory permissions |
ユーザーのホームディレクトリの権限を変更する場合は入力 |
Use password-based authentication? |
パスワード認証を使用しない場合は入力 |
Use an empty password? |
空のパスワードを許可する場合は入力 |
Use a random password? |
ランダムパスワードを使用する場合は入力 |
Enter password |
任意のパスワードを入力 |
Enter password again |
確認のためパスワードを再度入力 |
Lock out the account after creation? |
アカウントをロックアウトする場合は入力 |
OK? |
設定内容に問題がなければ「yes」を入力 |
Add another user? |
別のユーザーを作成しない場合は「no」を入力 |